

Overview
The Ineo-Sense ACS Padlock 2 prototype is now in hand. In this post I'll go into my findings and planned followup regarding the unit.
The Teardown
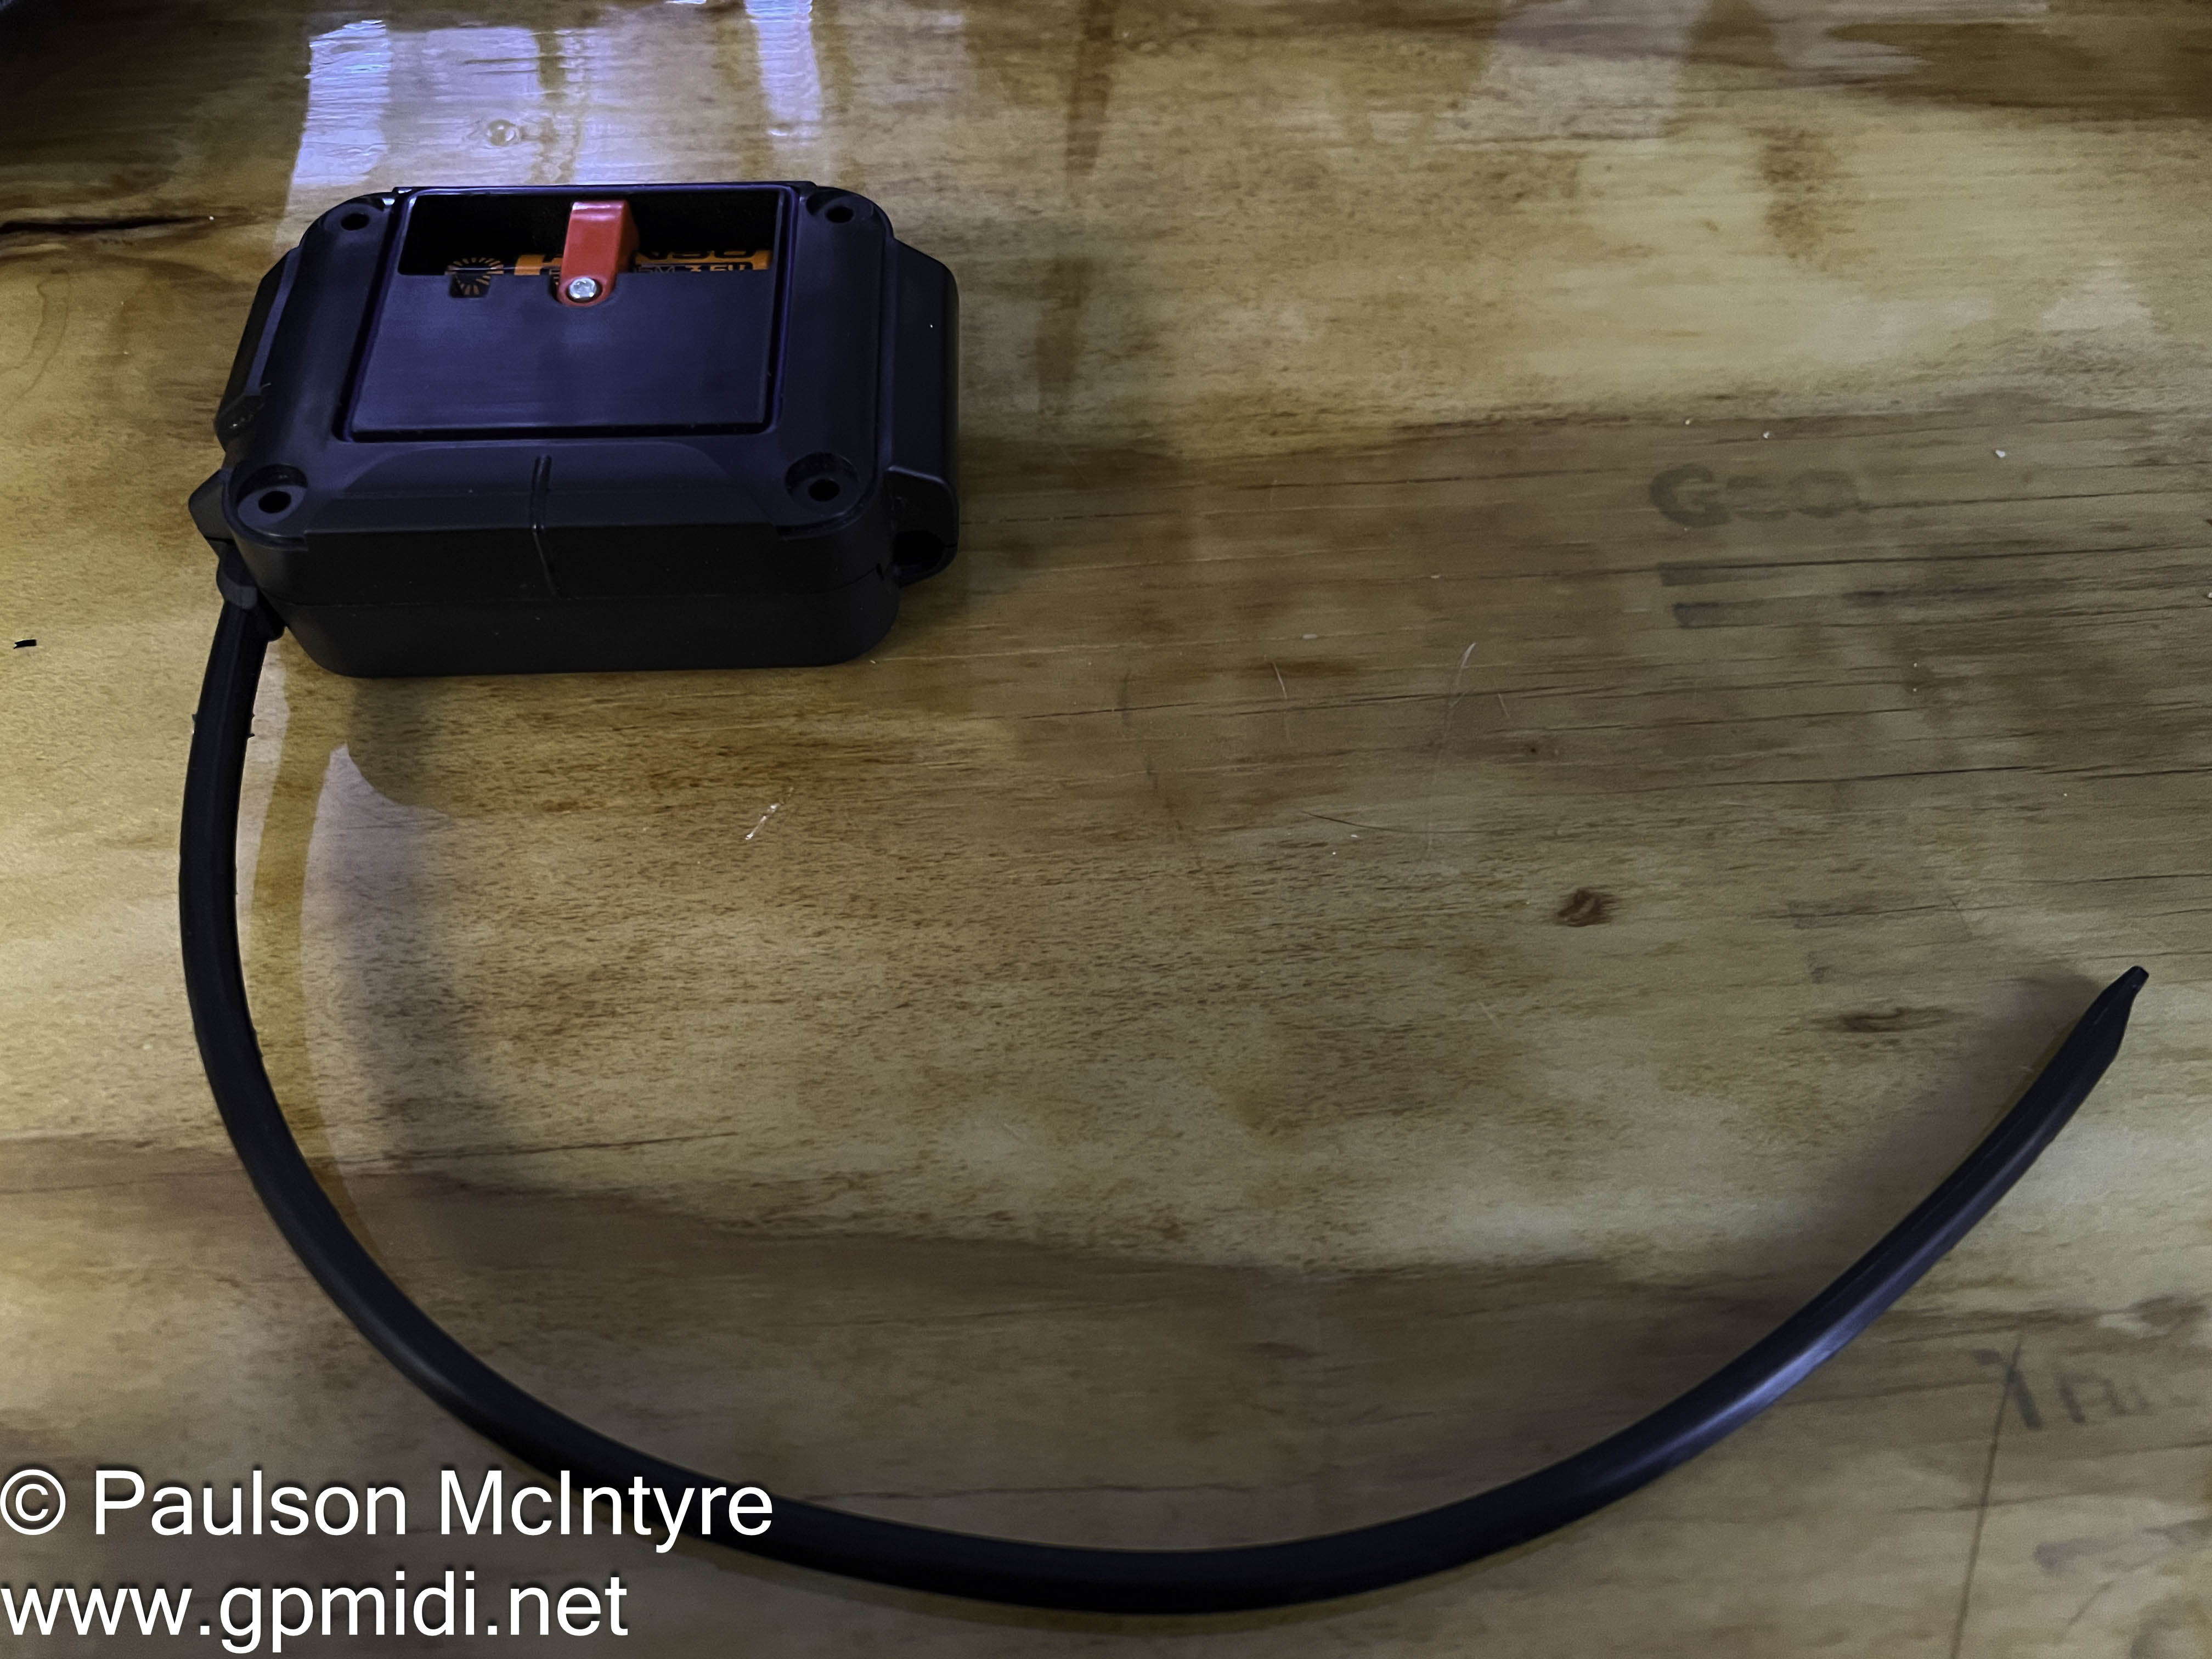
The front of the unit. Note that two bolts have already been removed.
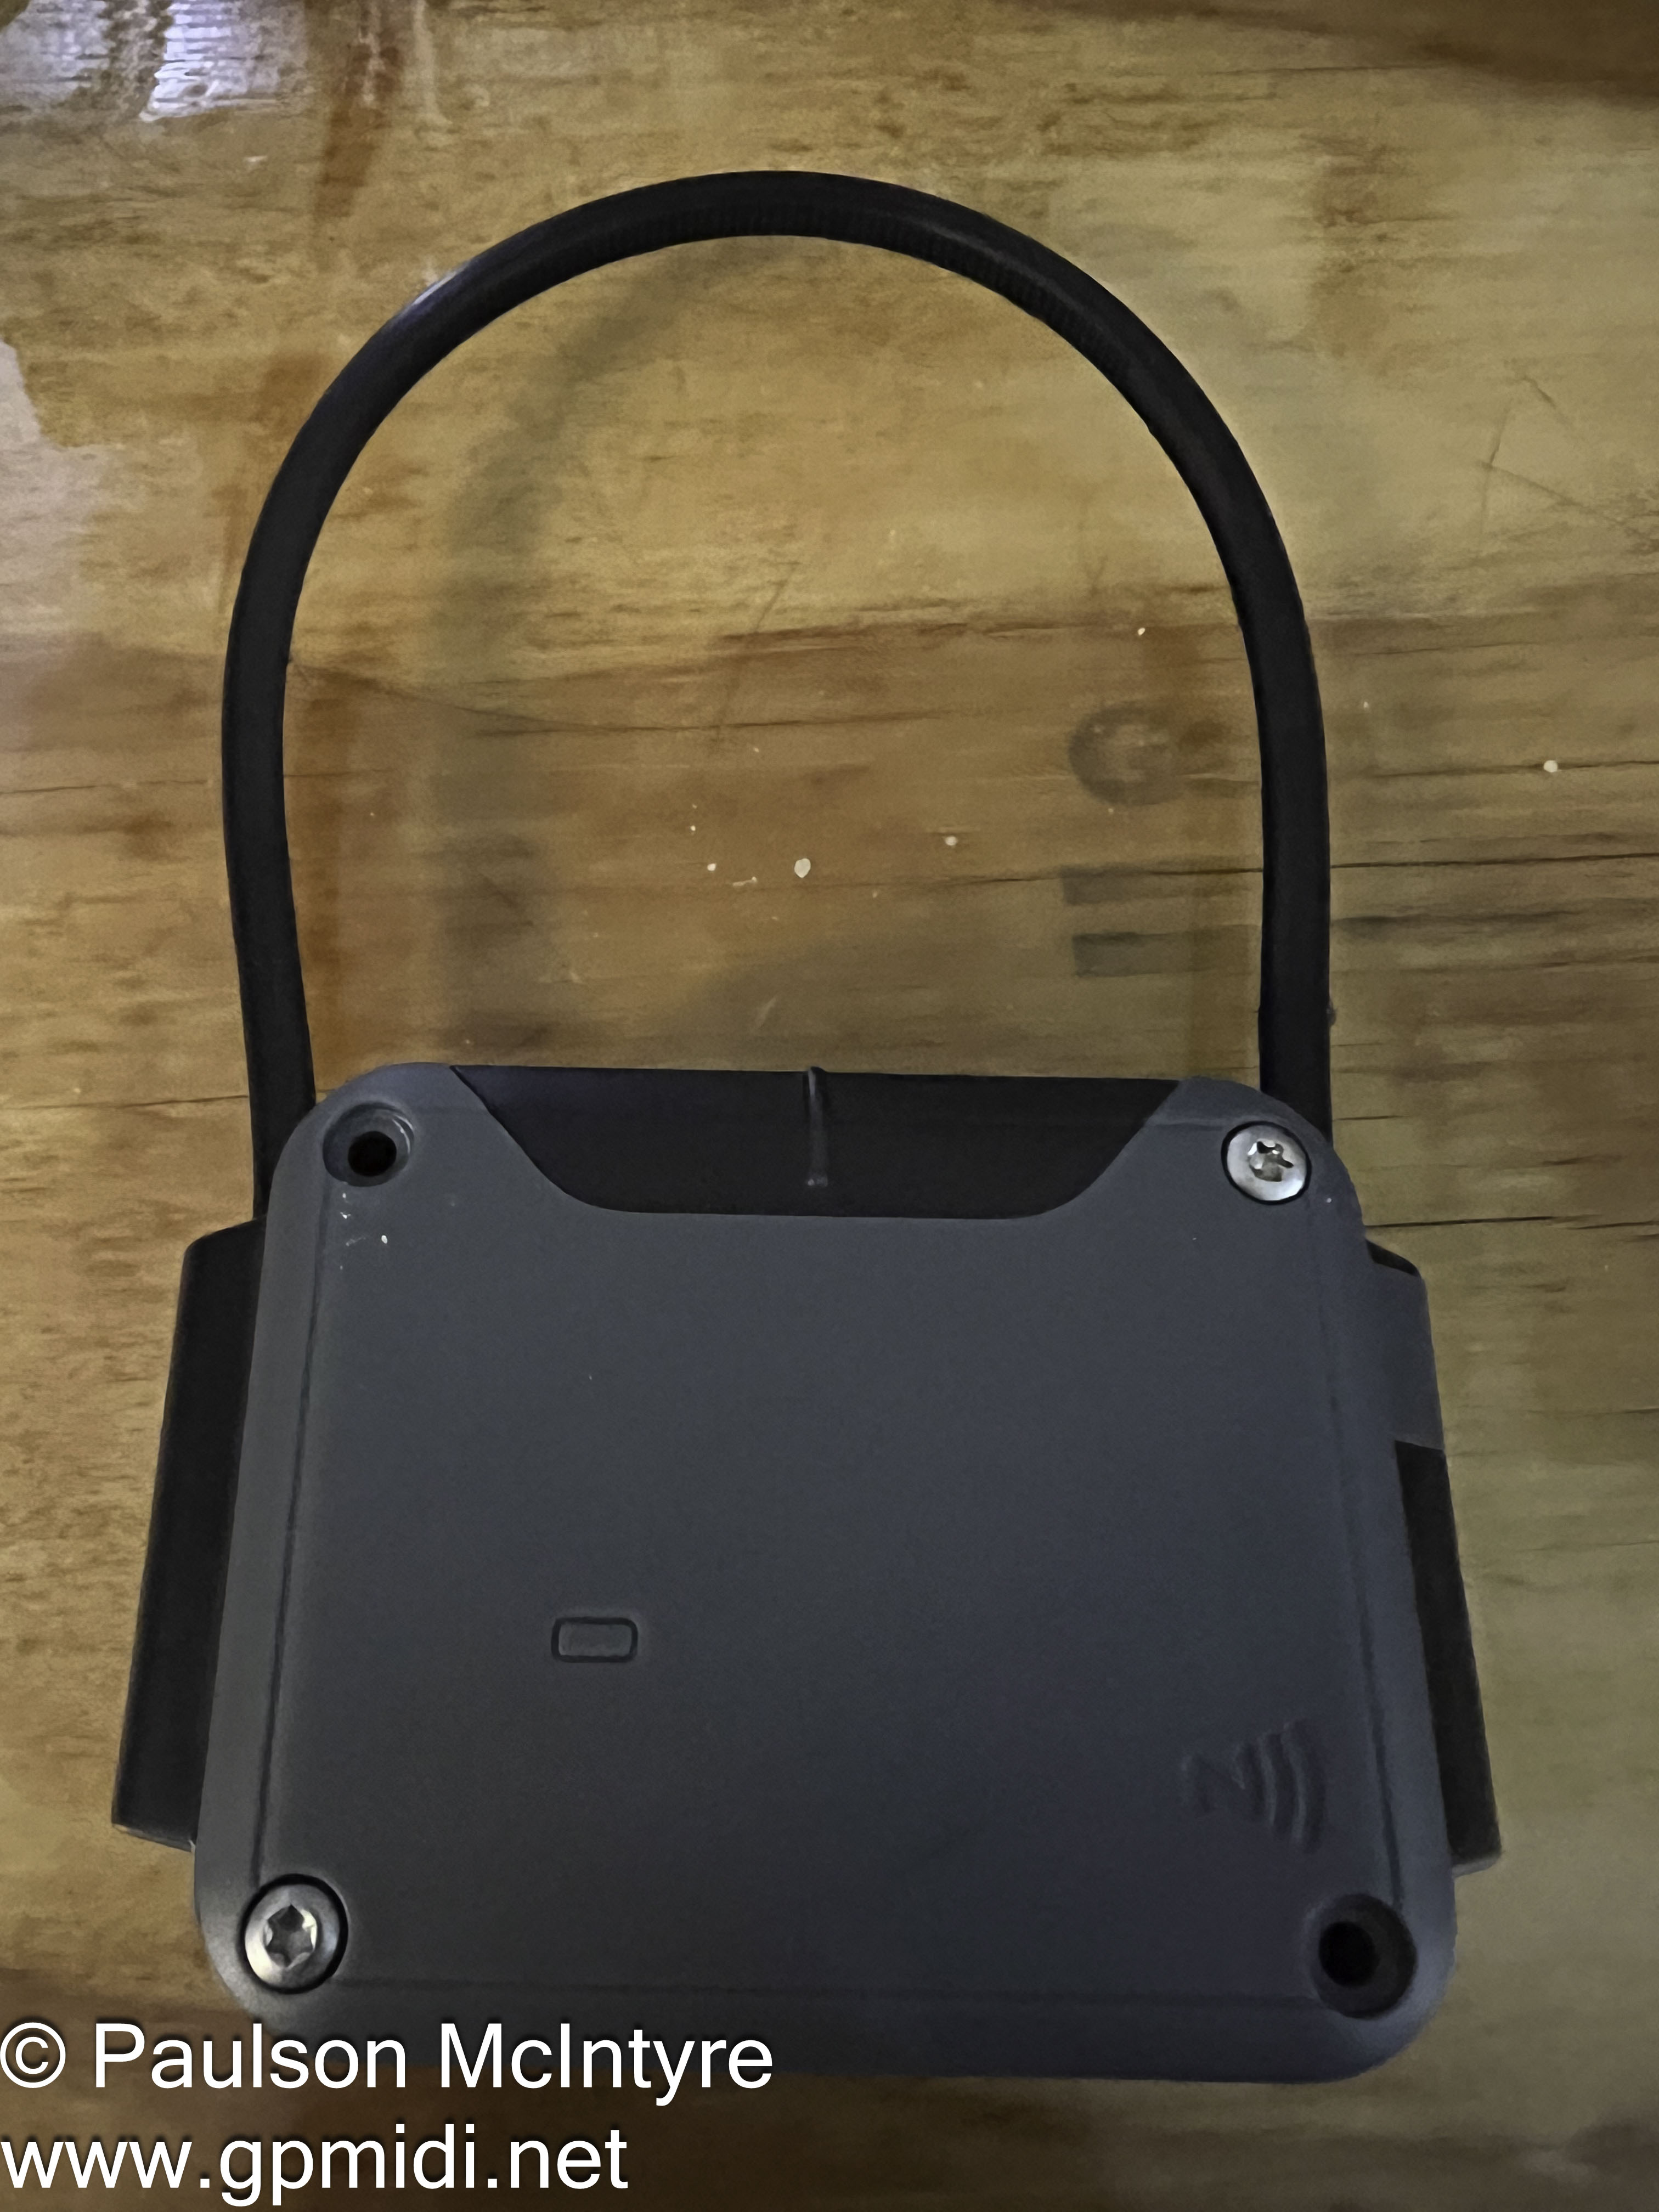
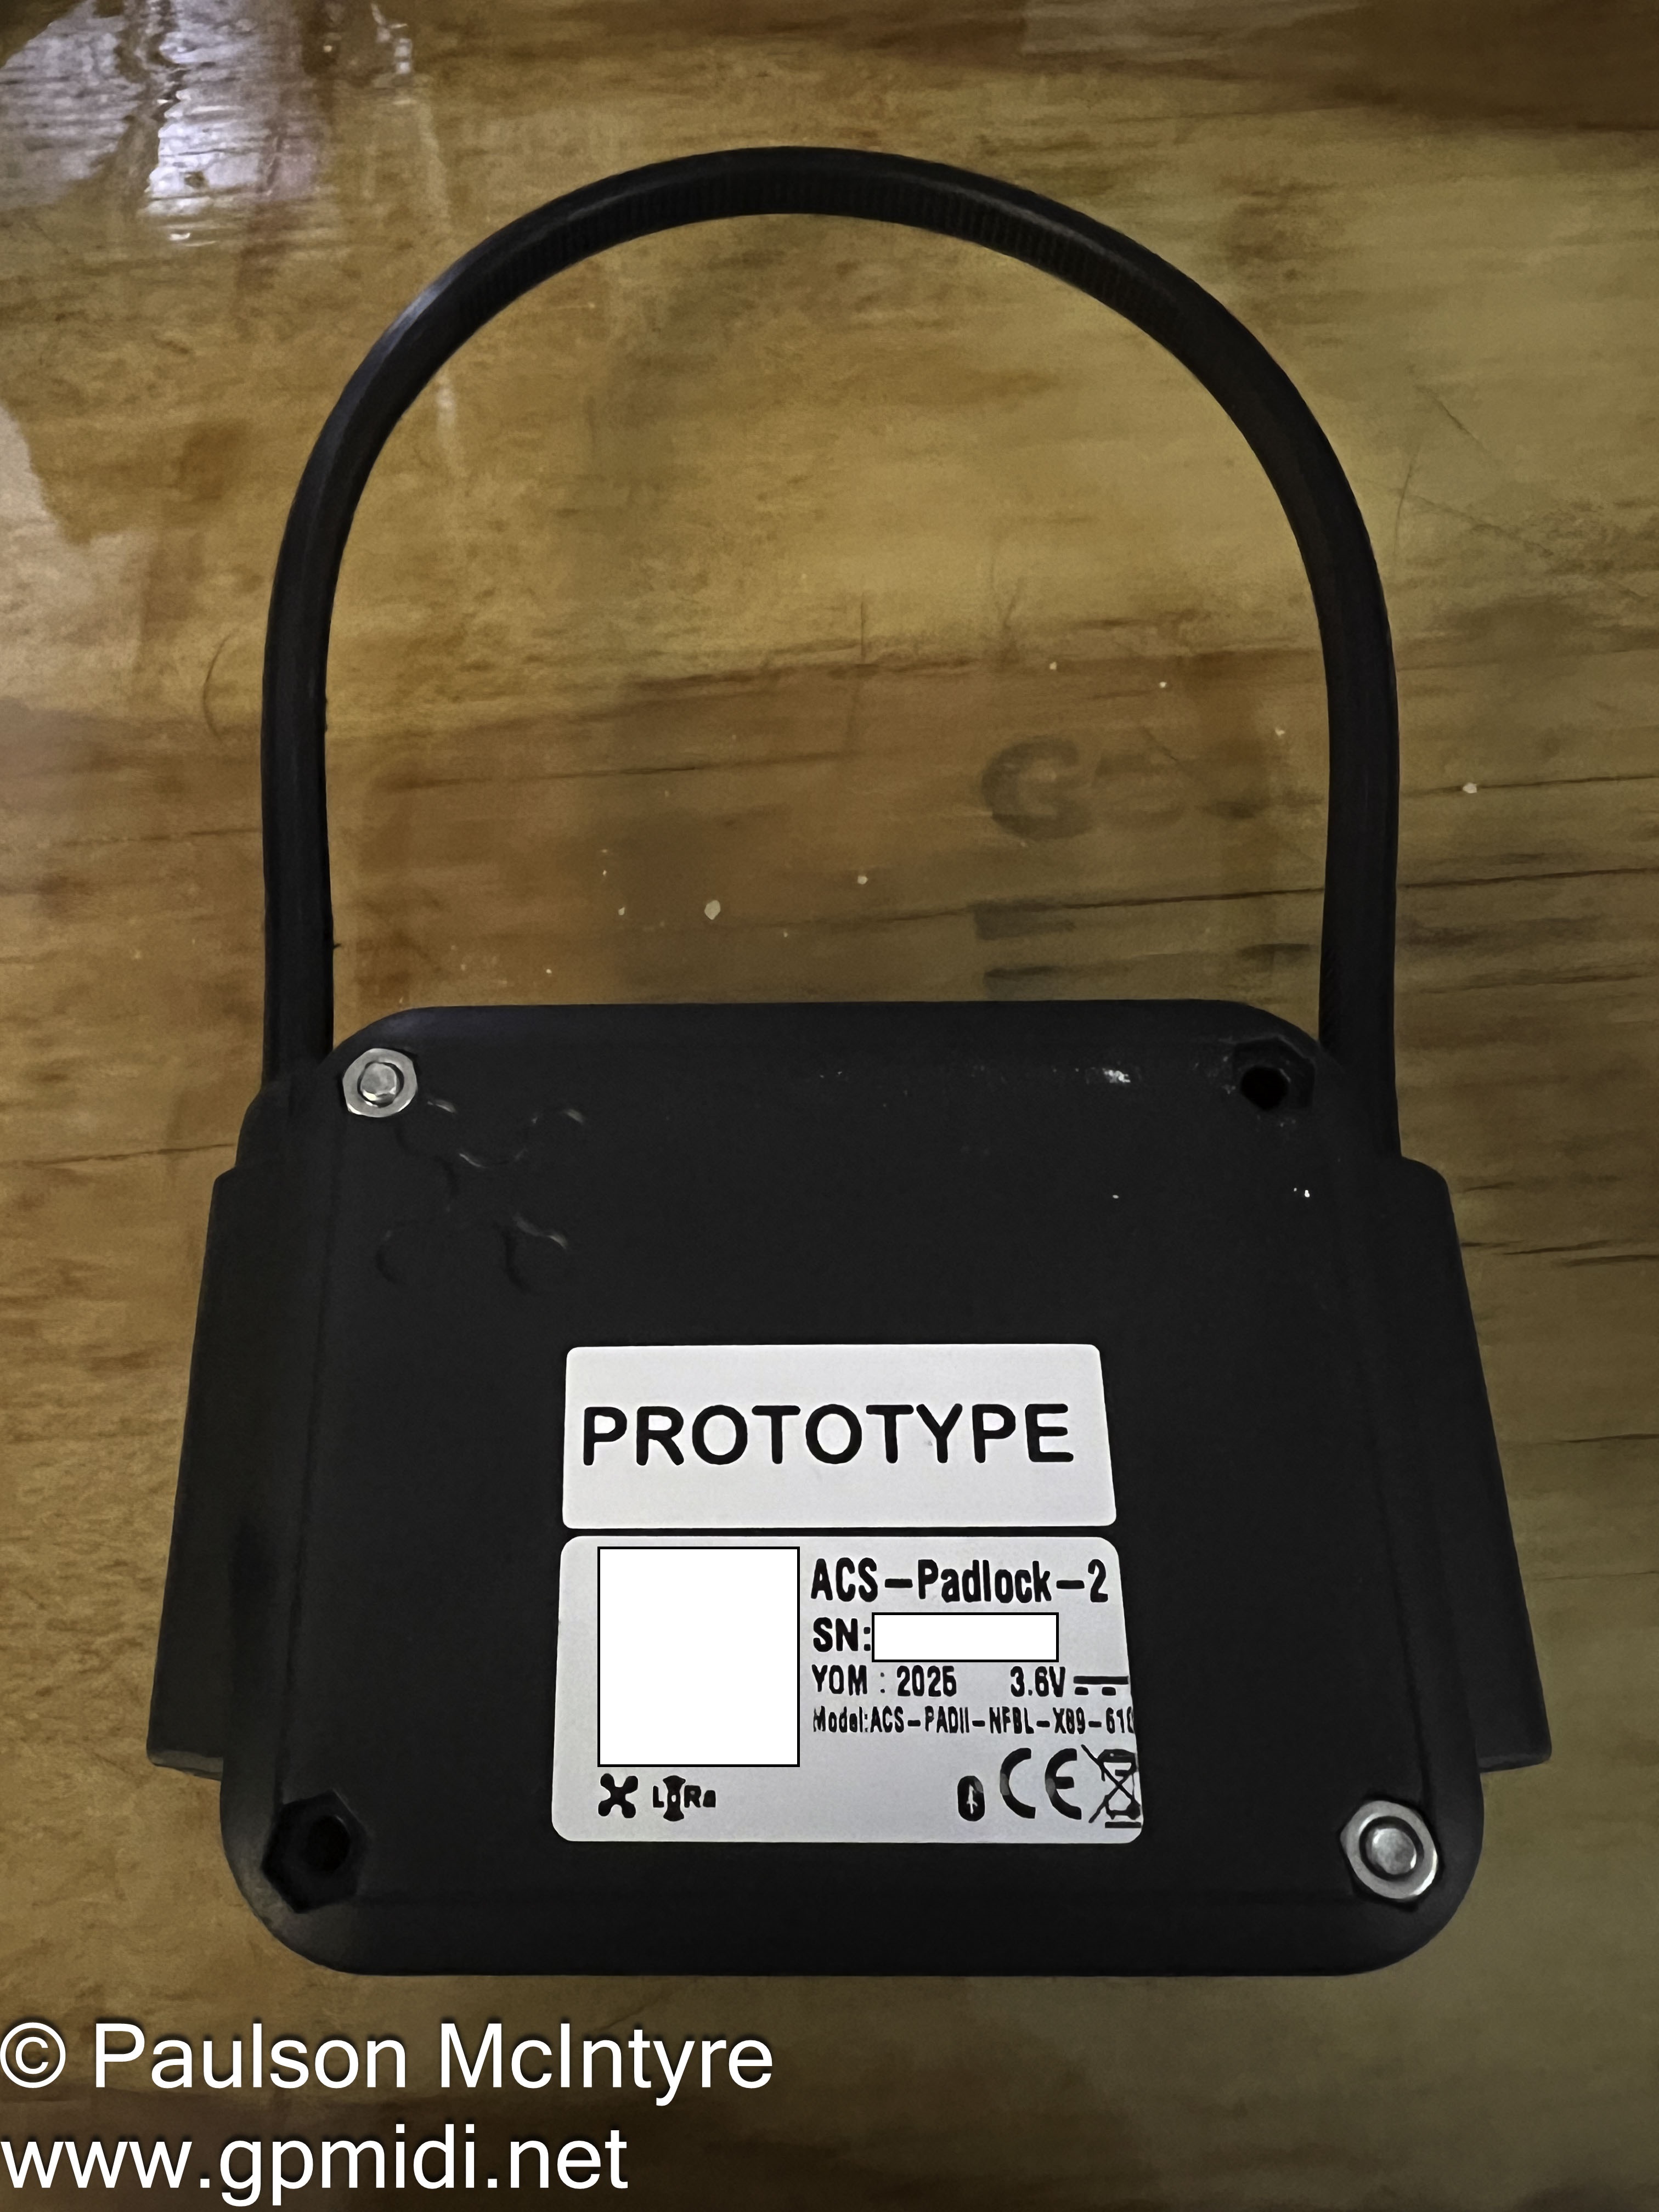
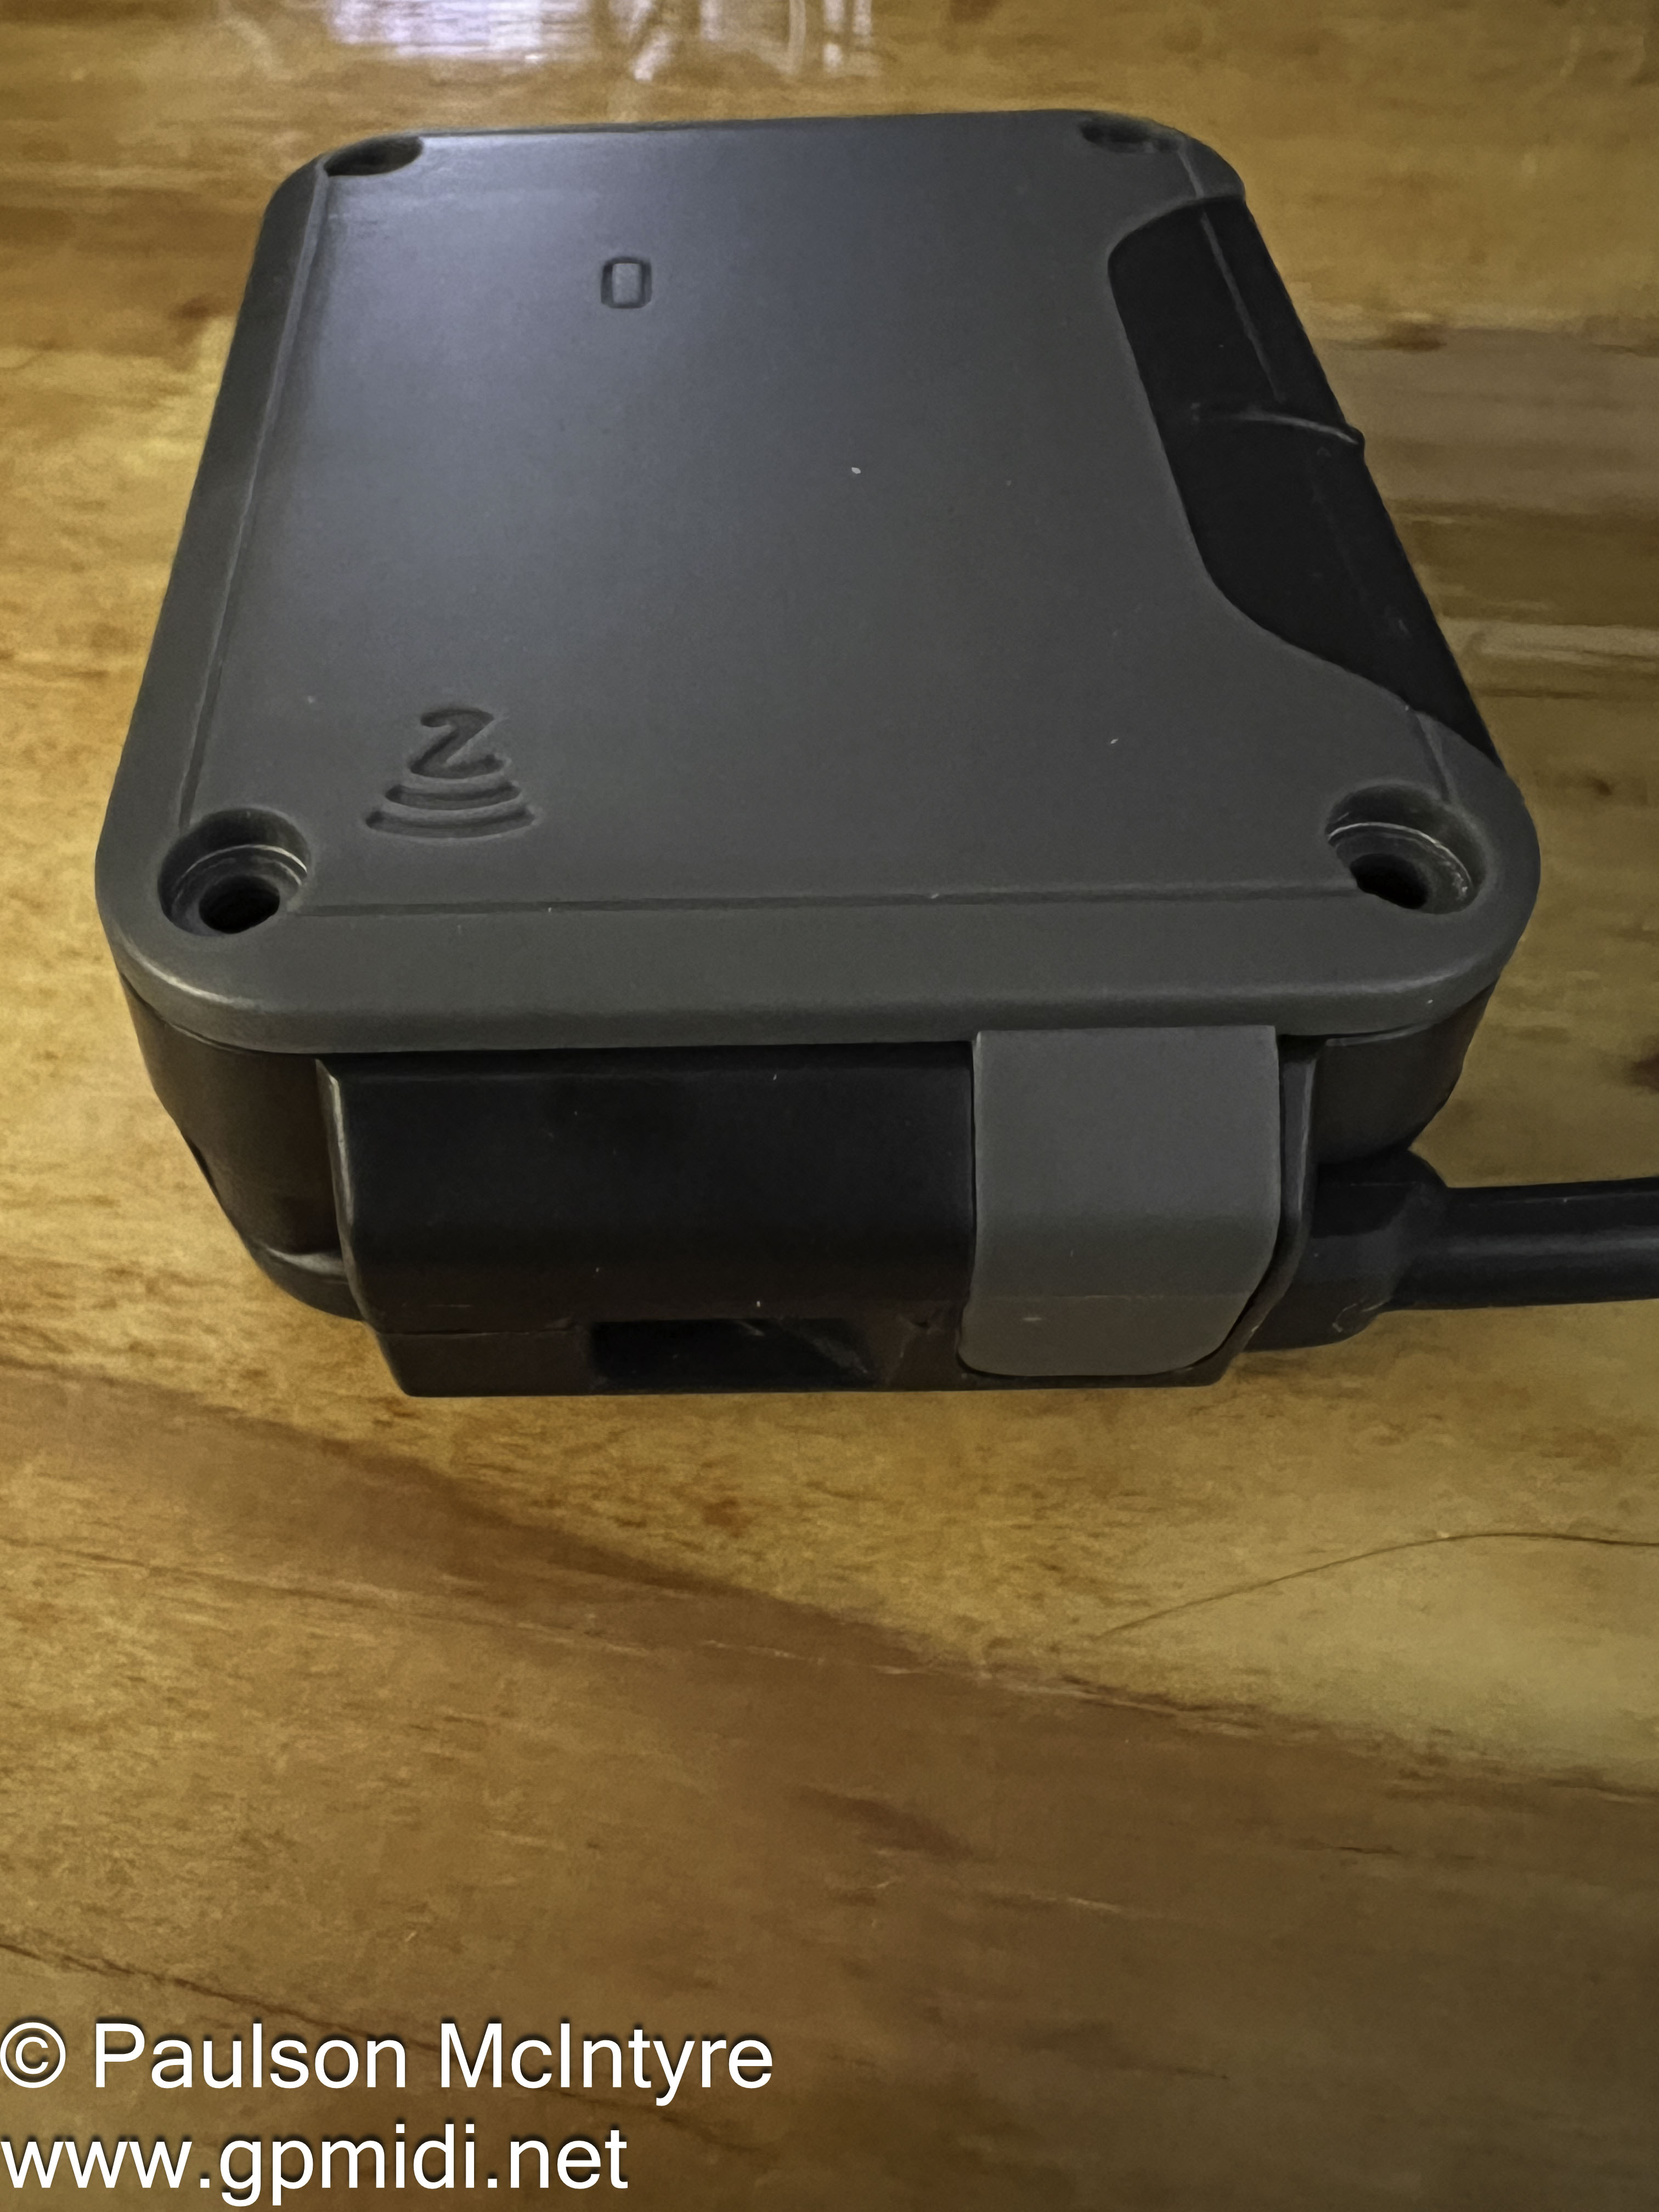
Back of unit
Back of unit with cable unhooked.

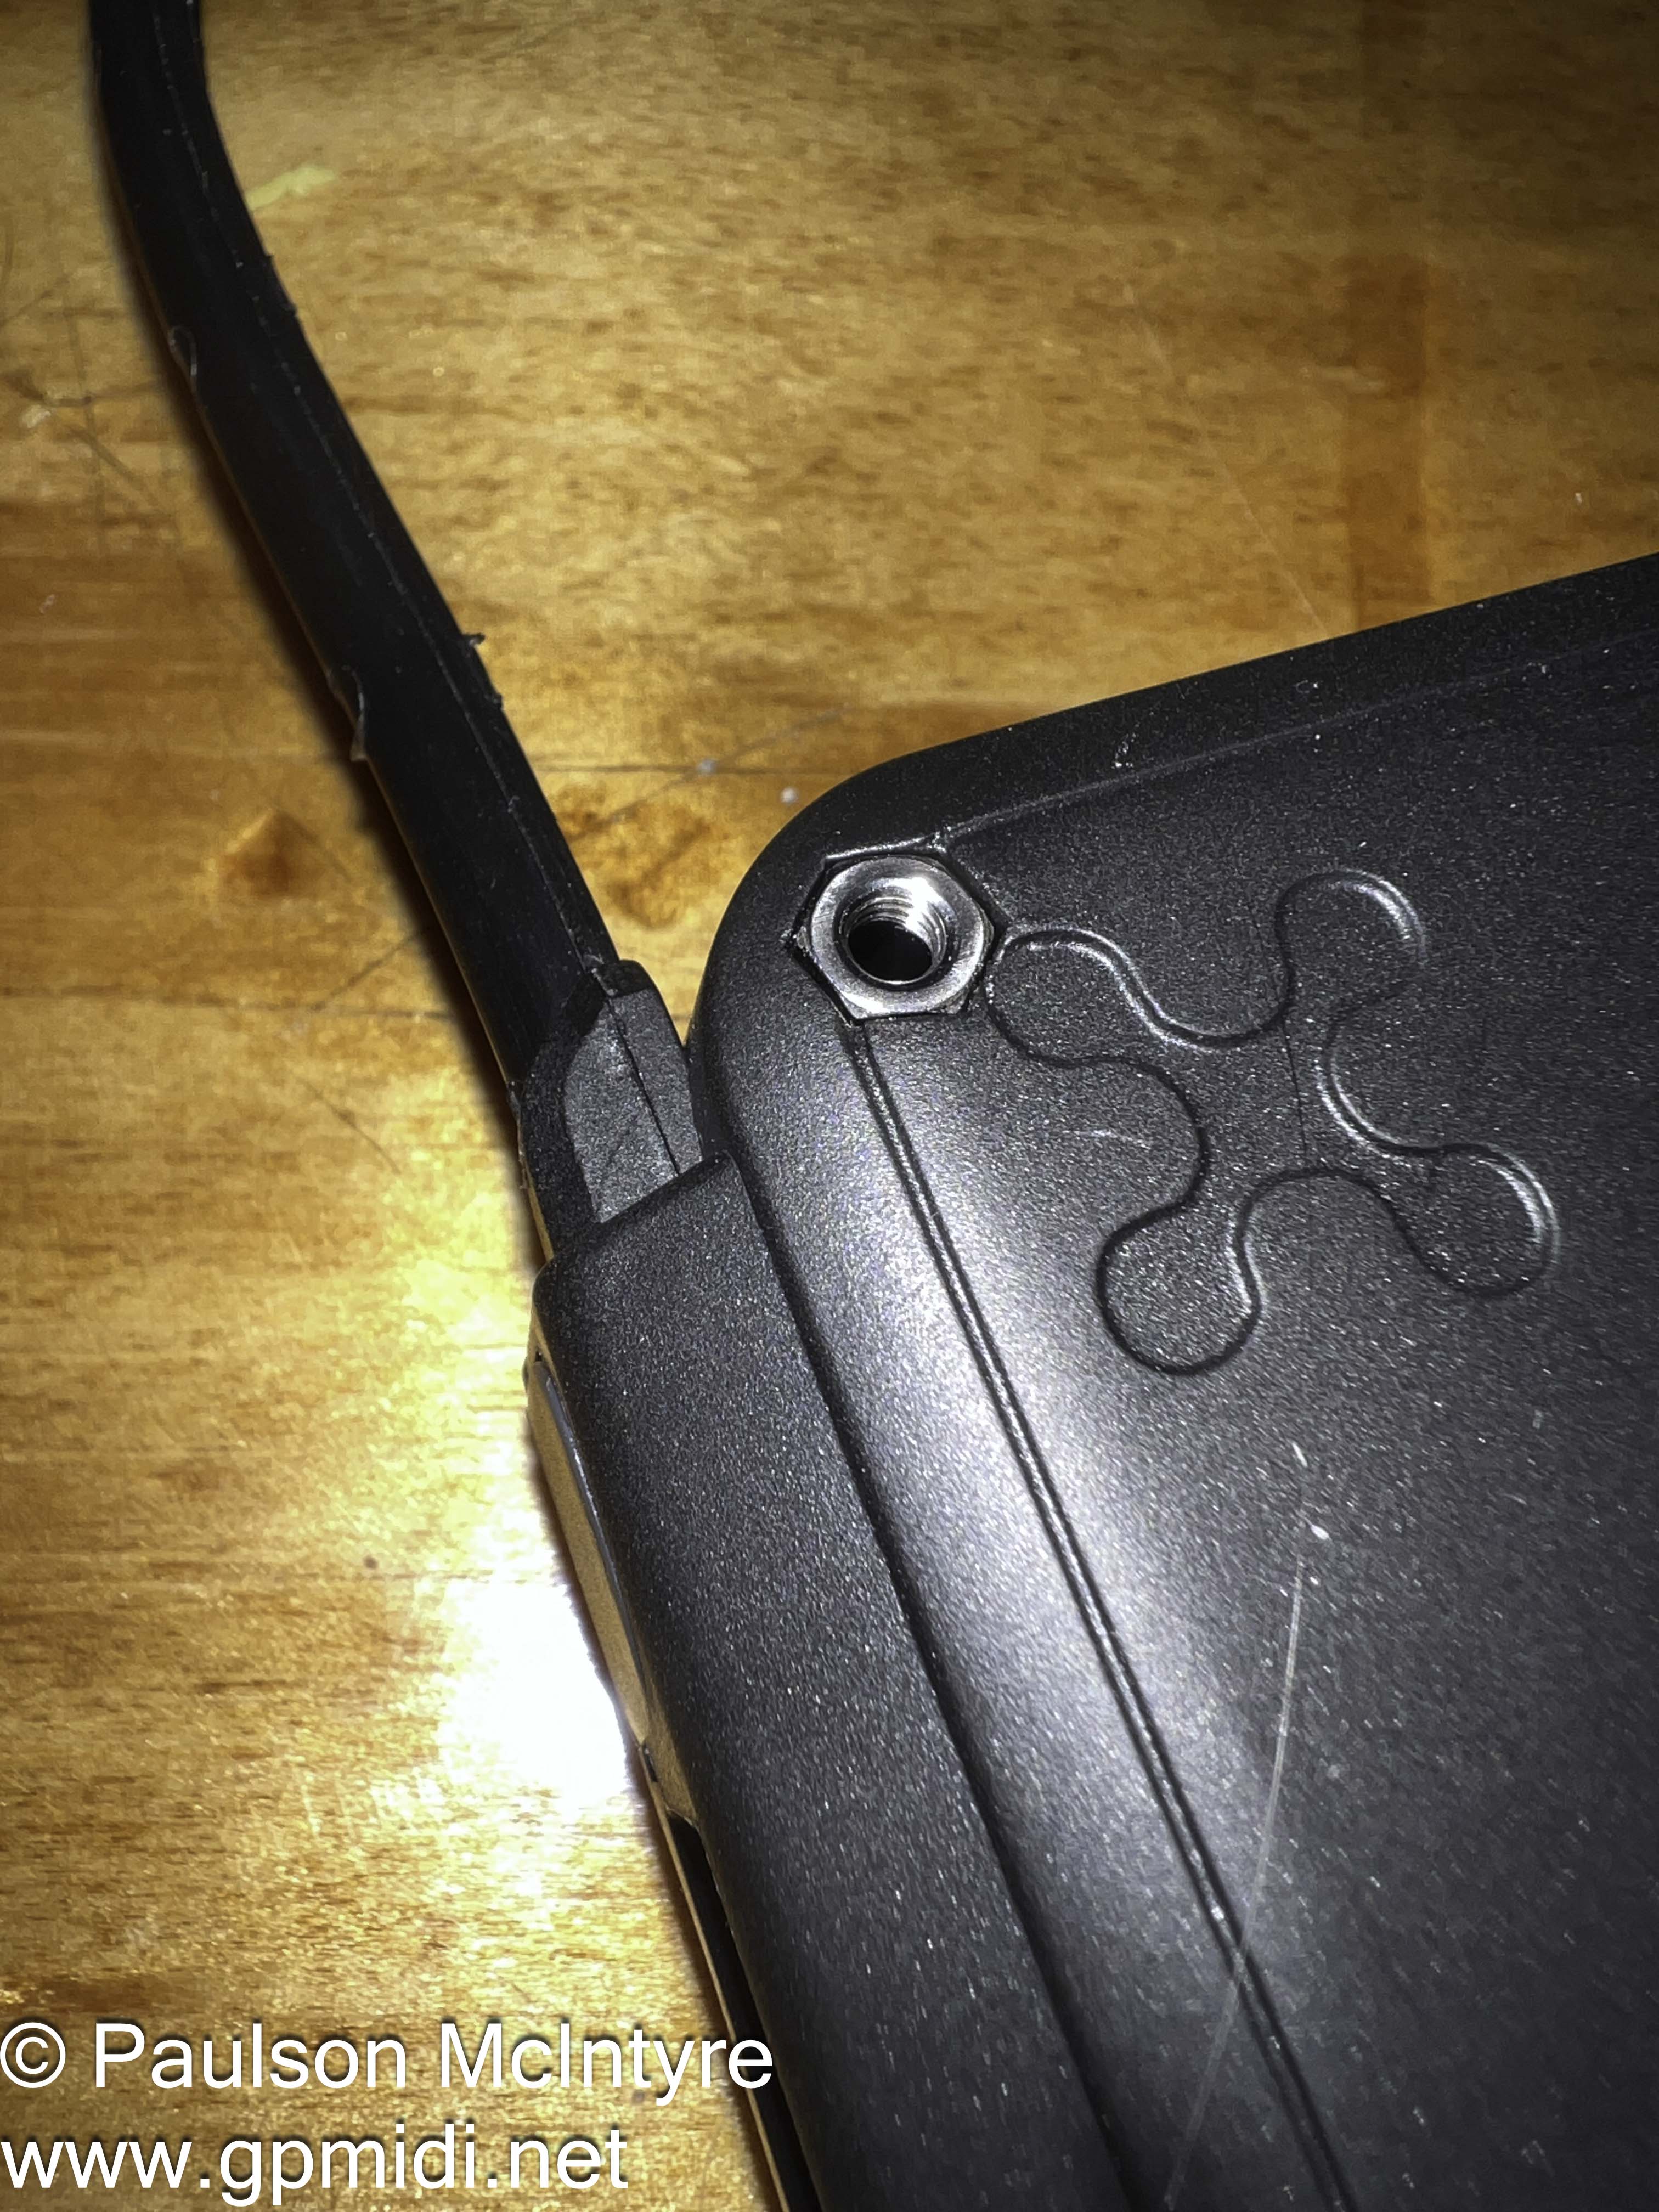
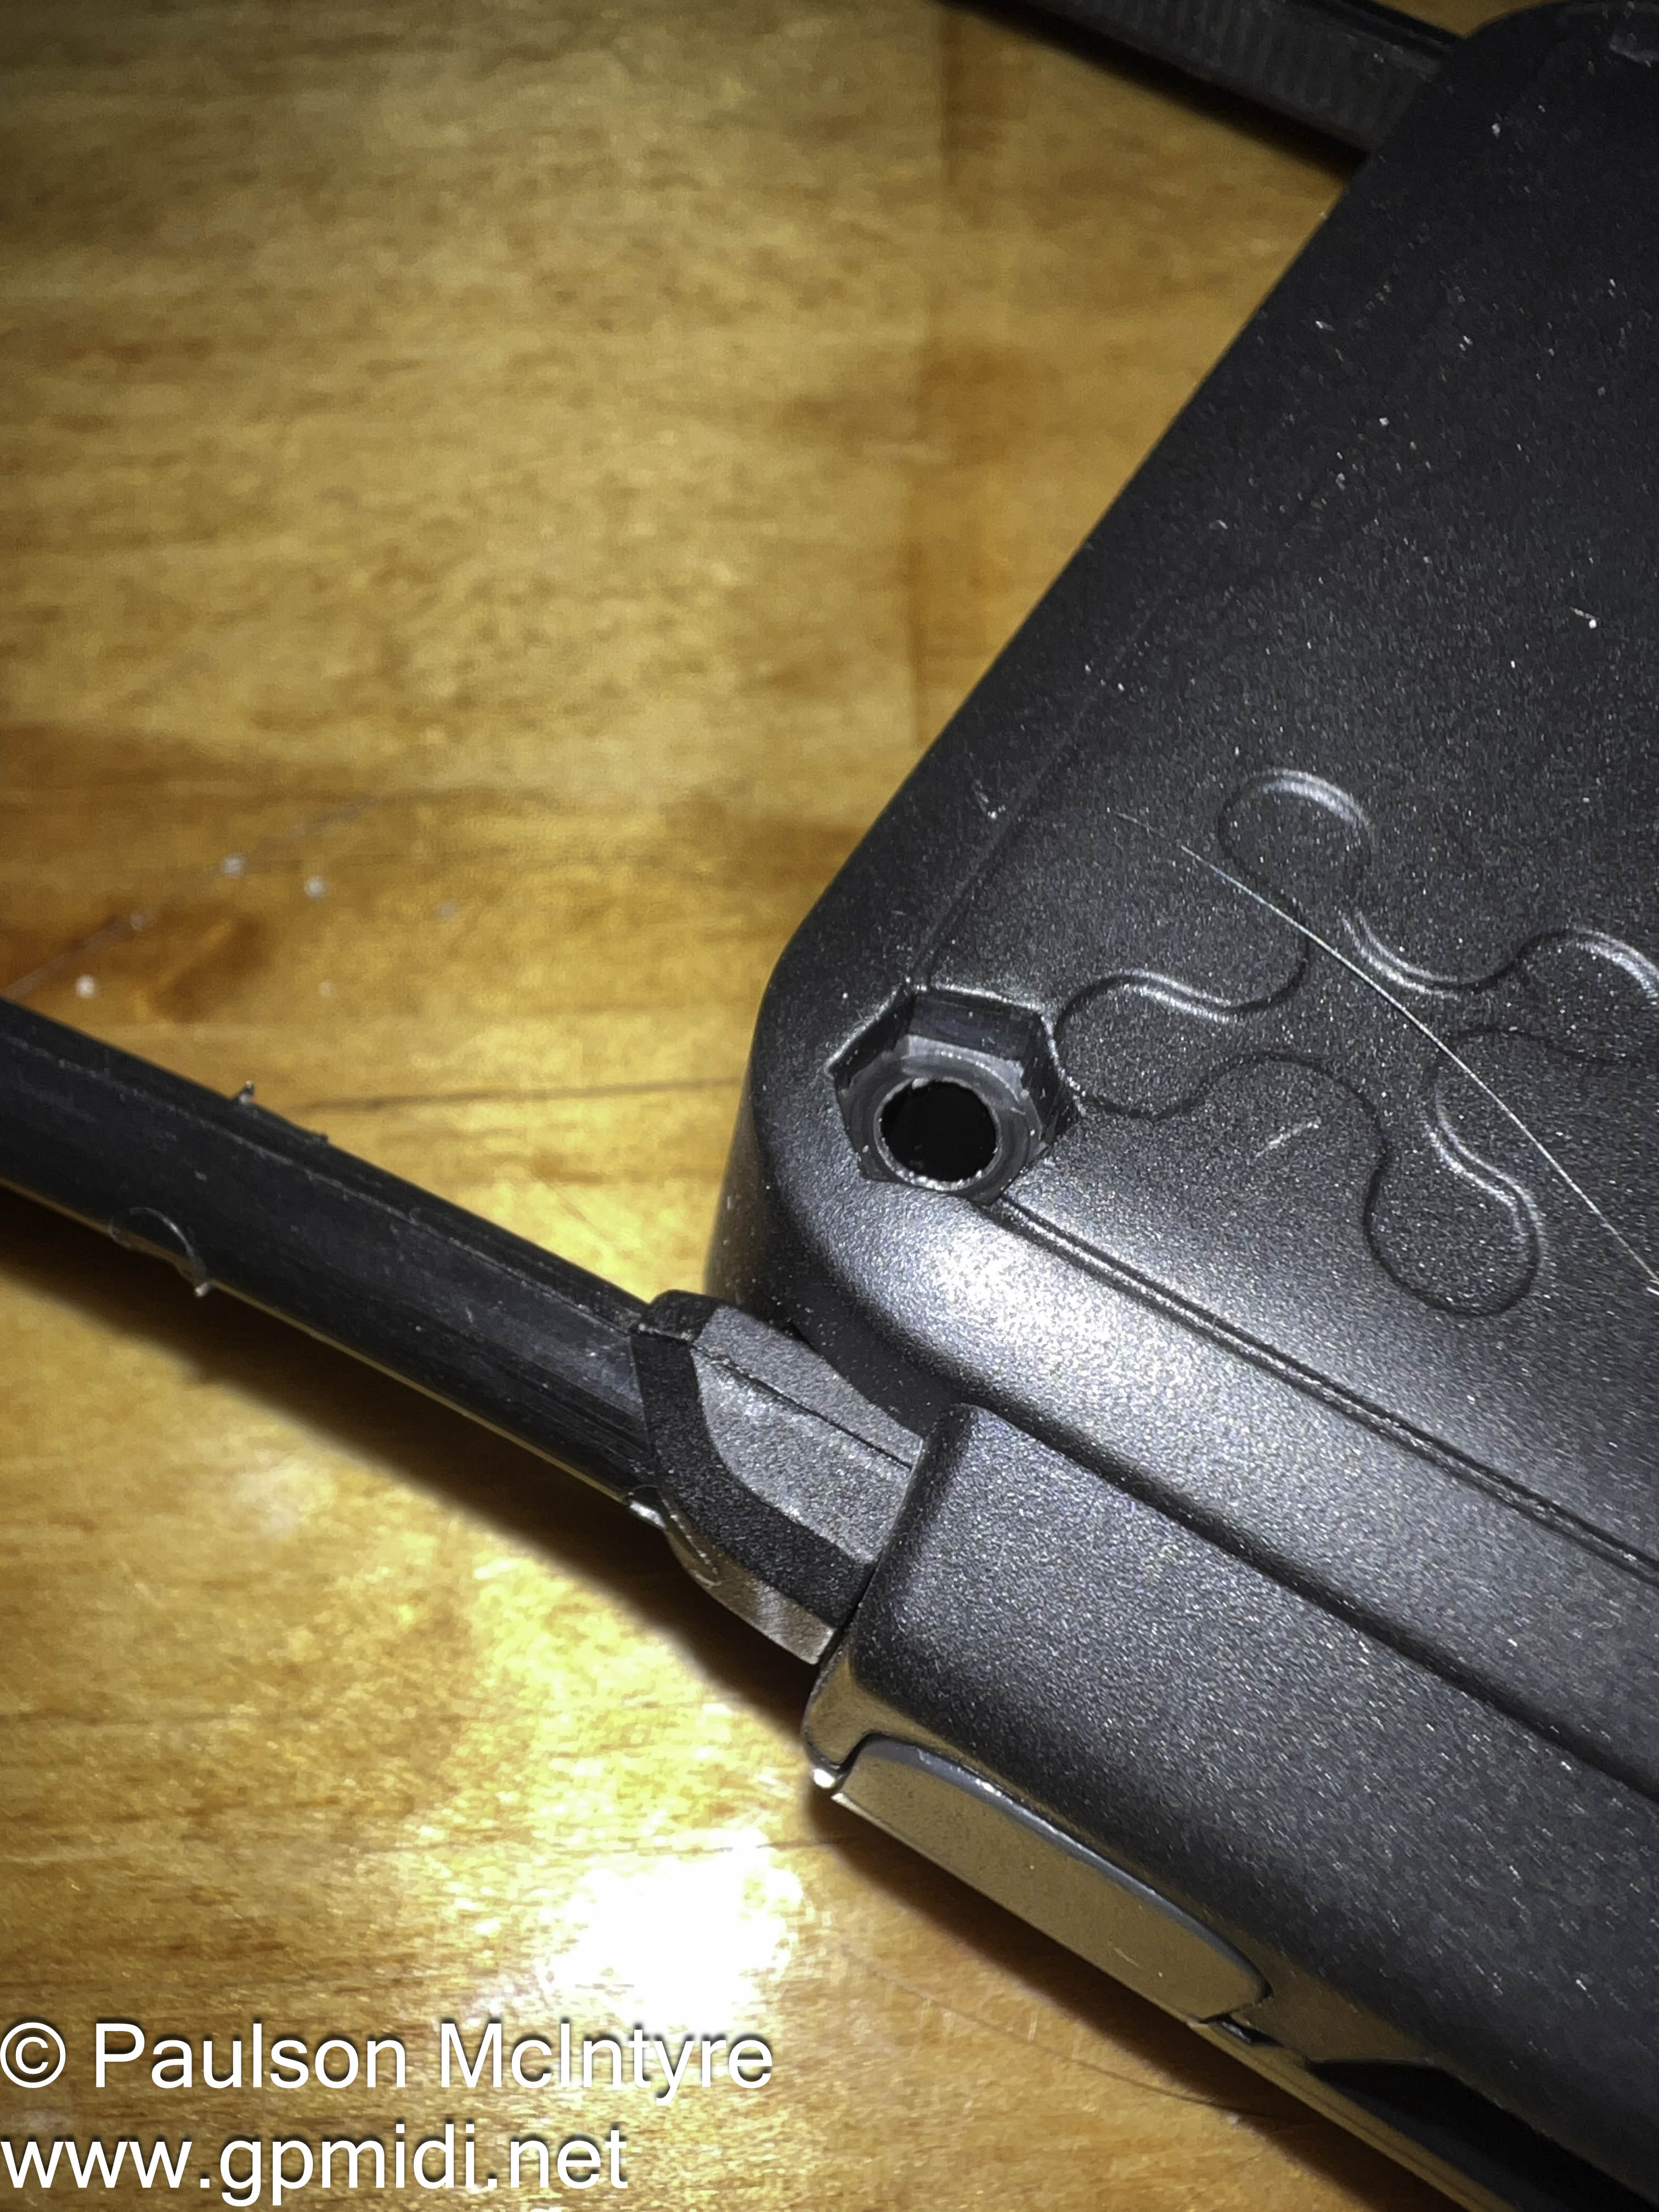
The nuts that the chassis bolts use are held in place by the case.
With the back removed. This is the default unit with a 30cm cable. They're also available in a 1m variant.
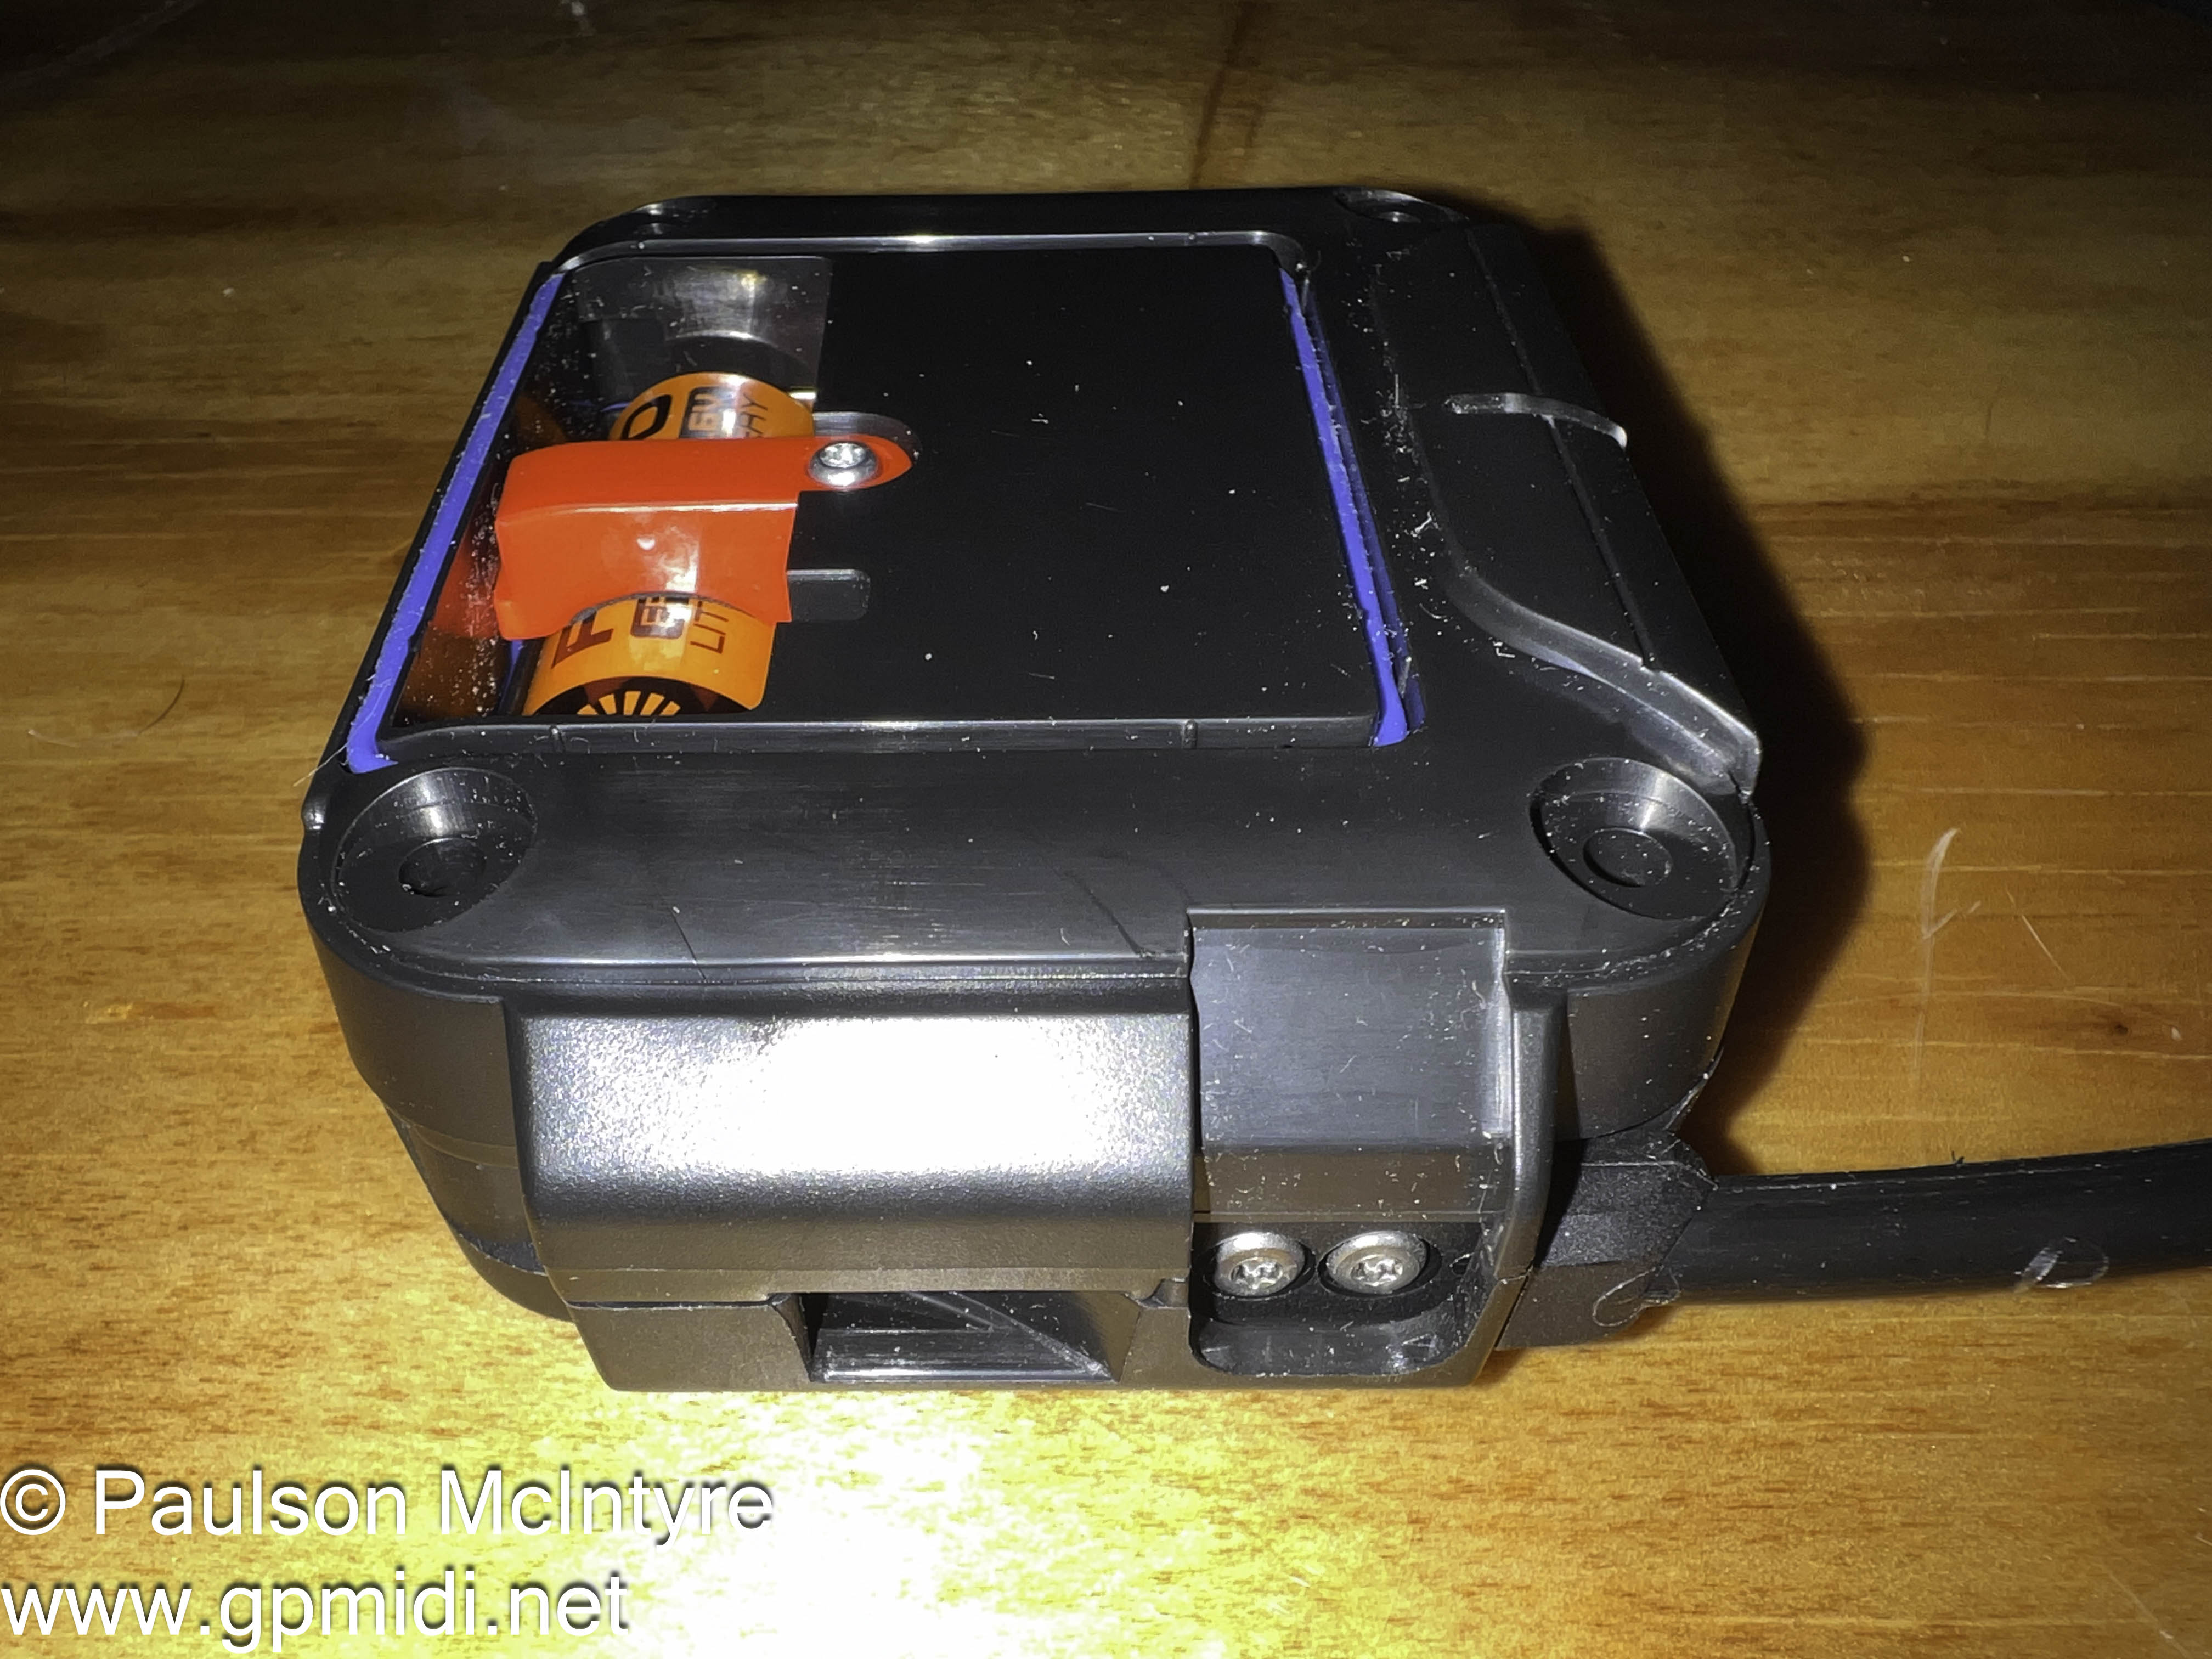
The battery is easy to remove at this point but nicely held in place.
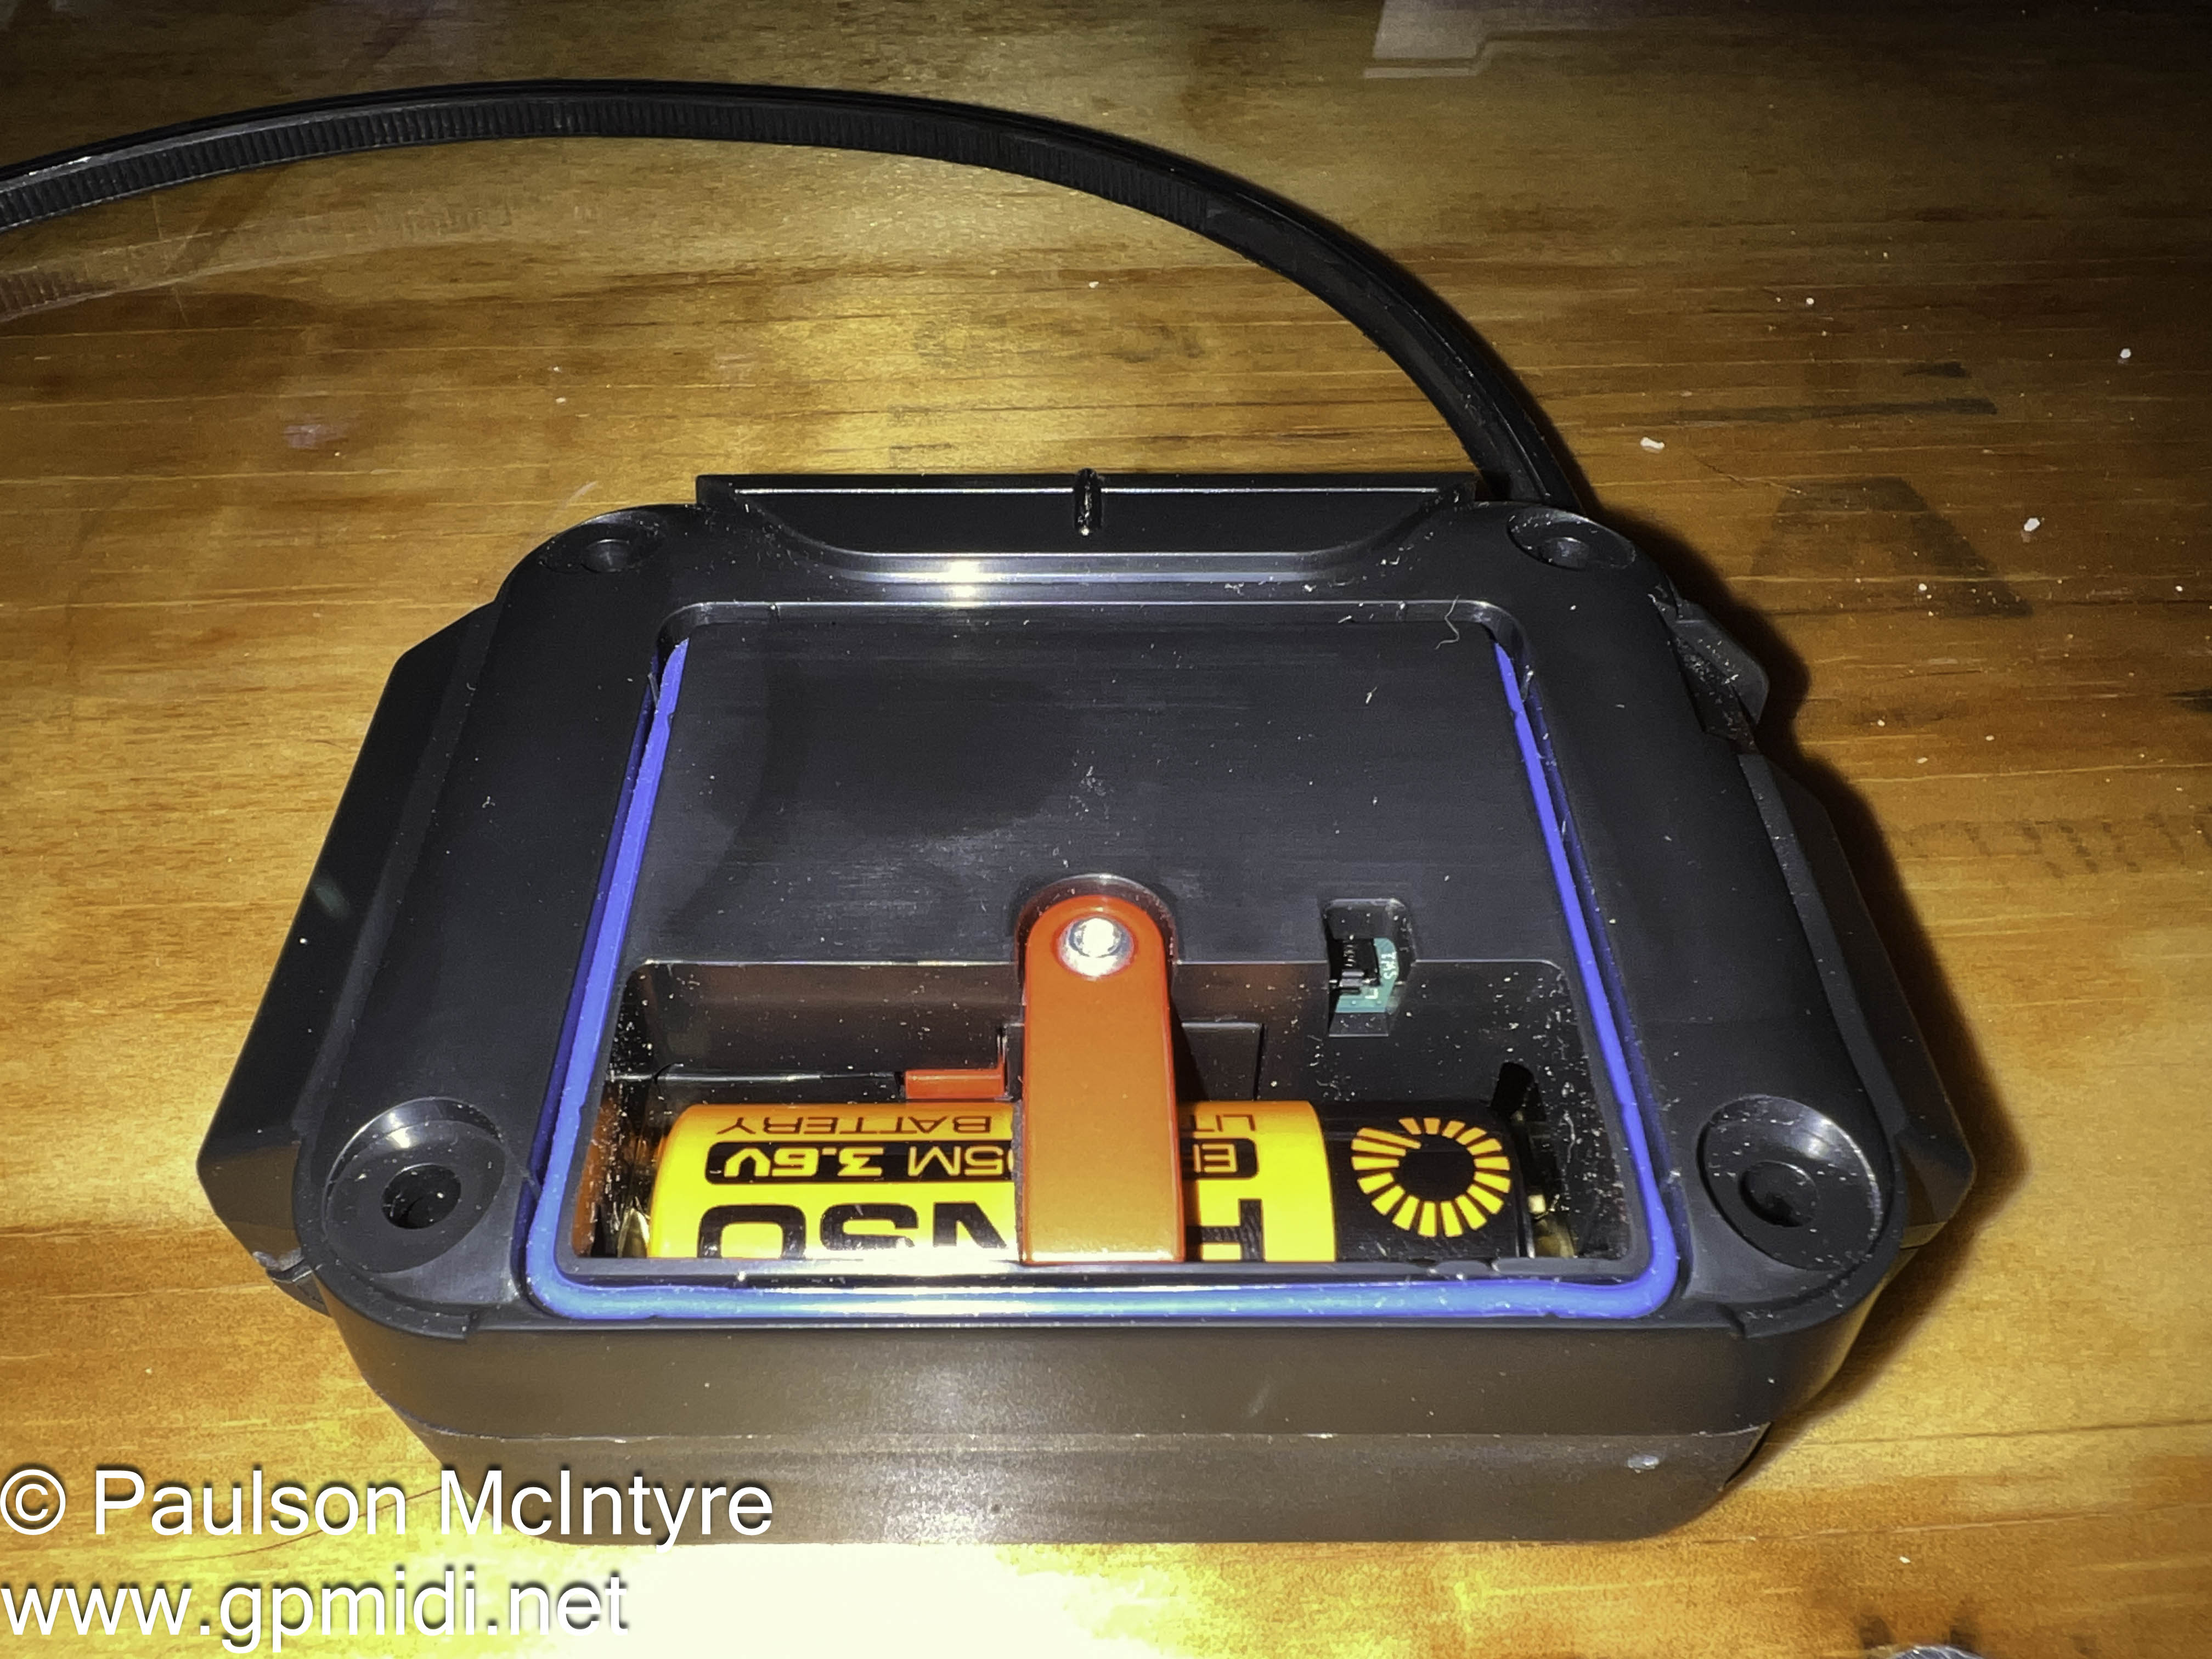
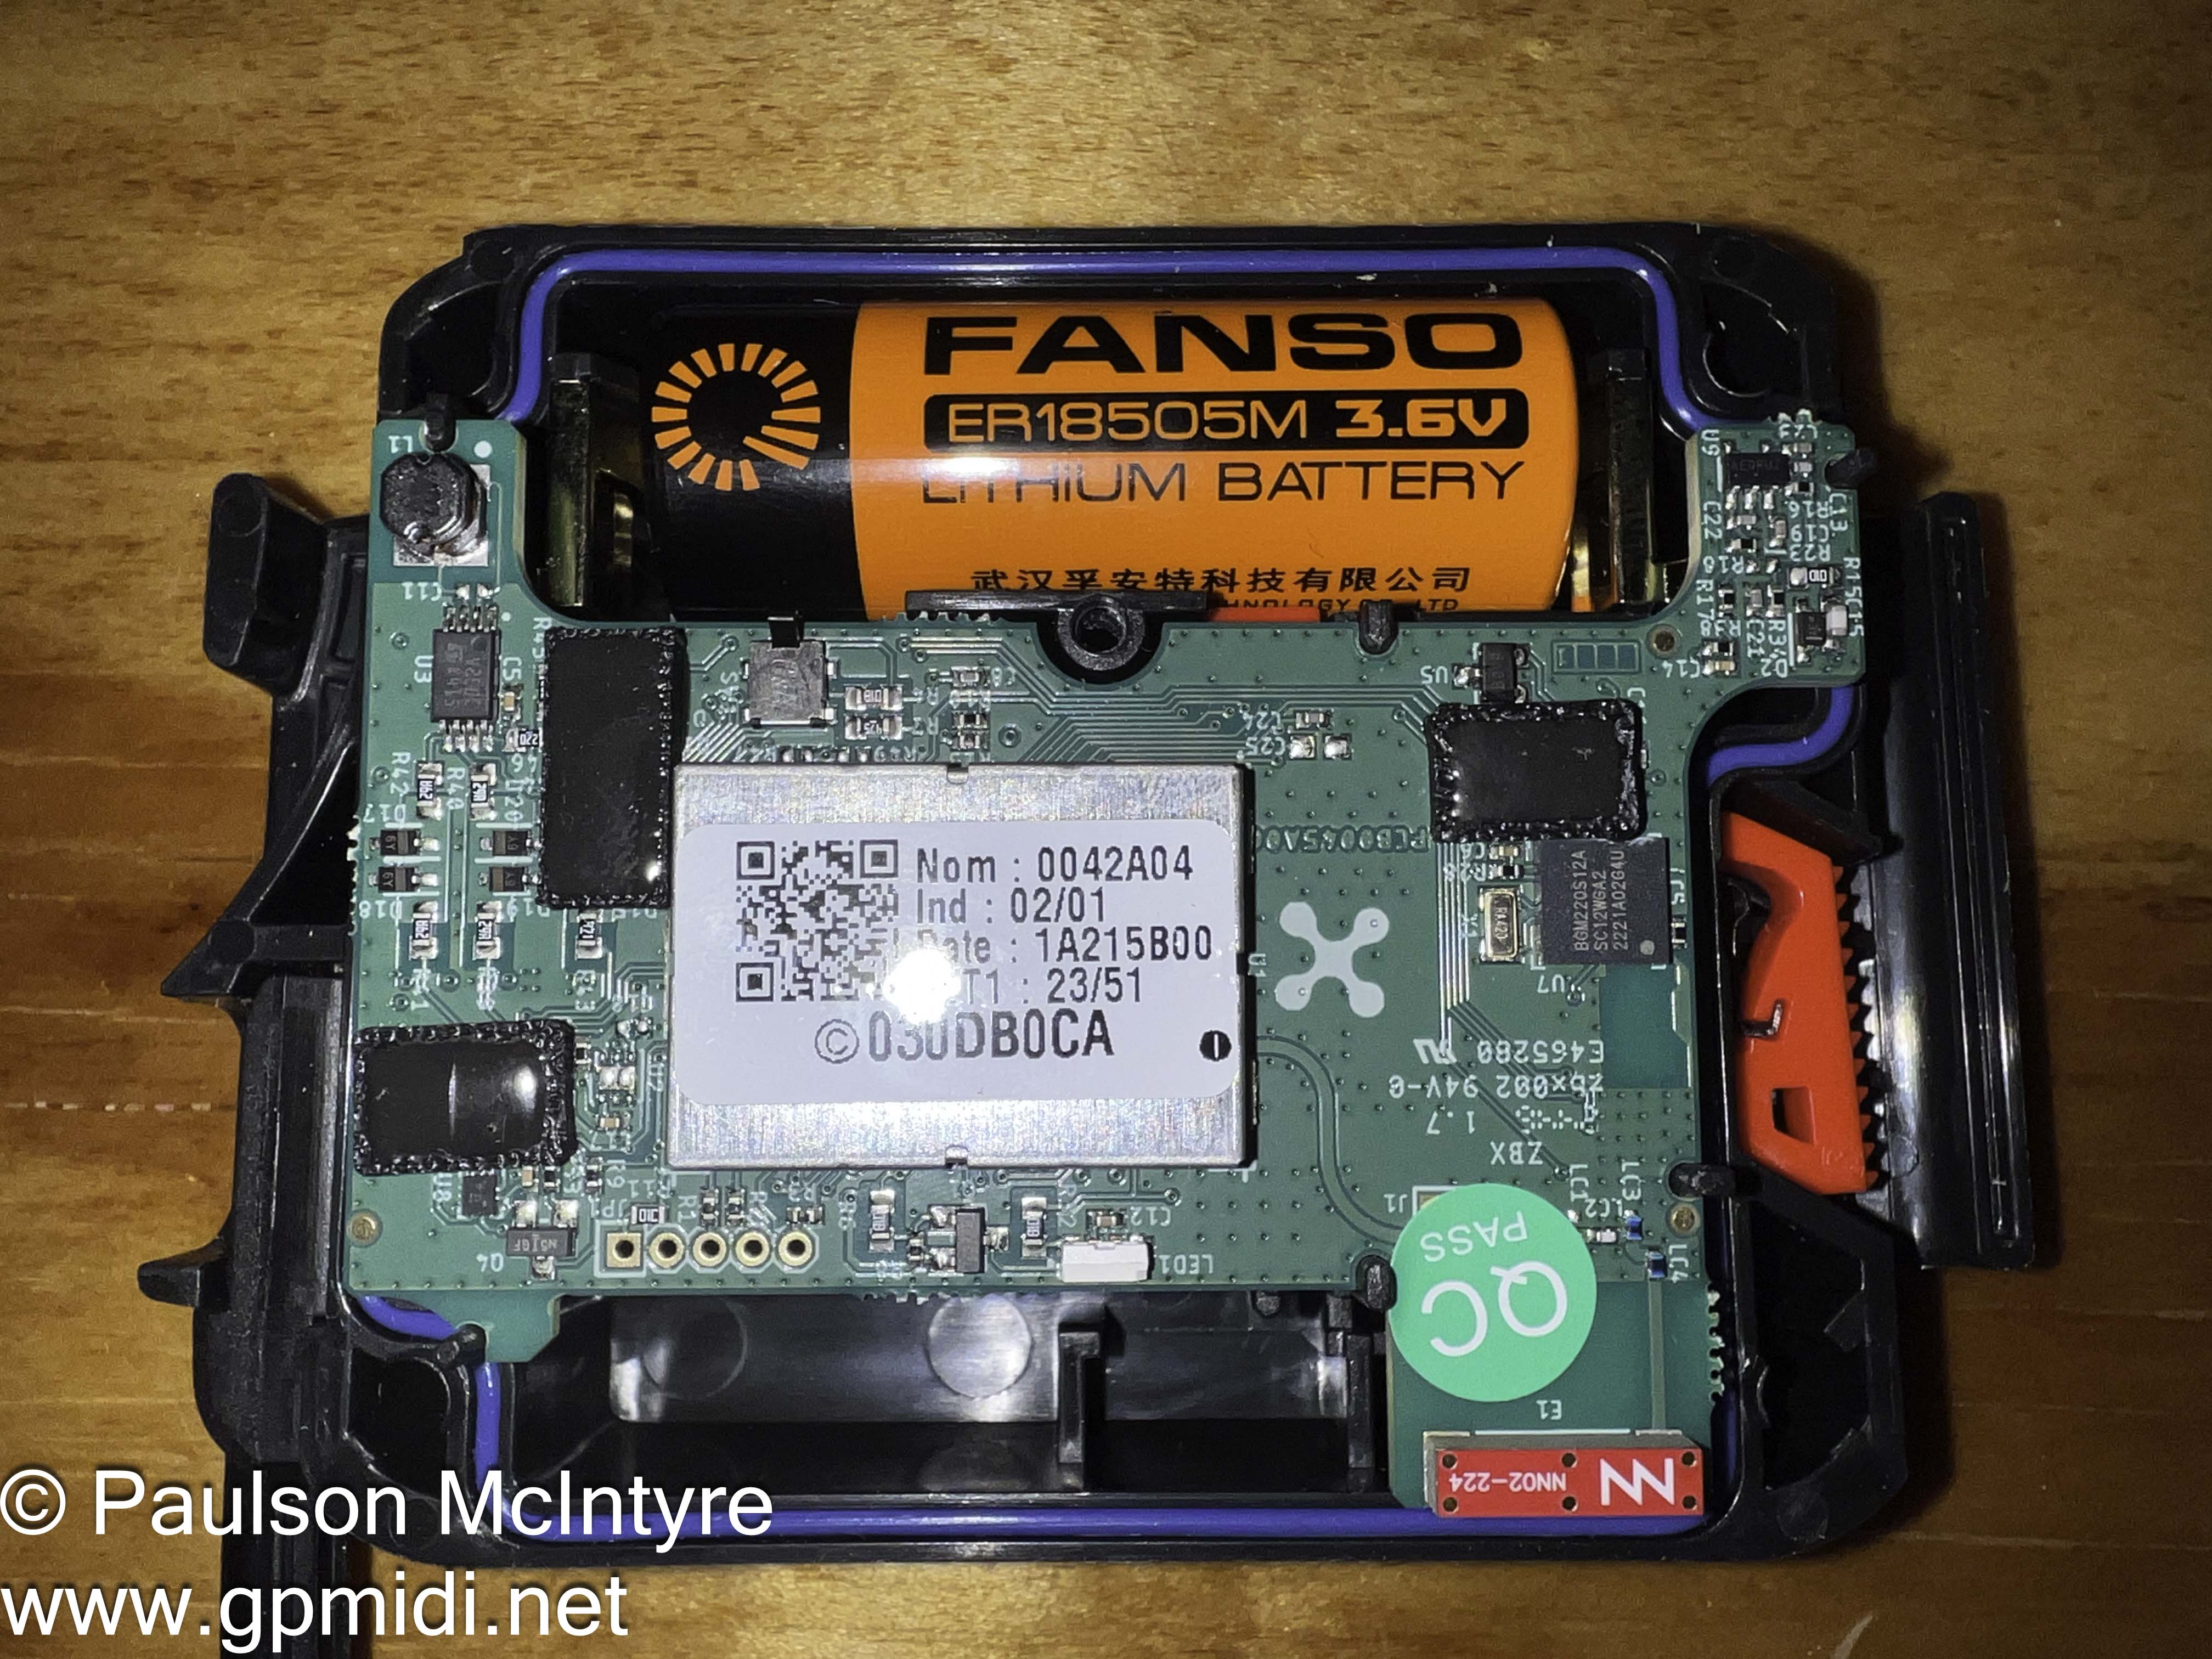
The battery is common style of 3.6V Lithium.

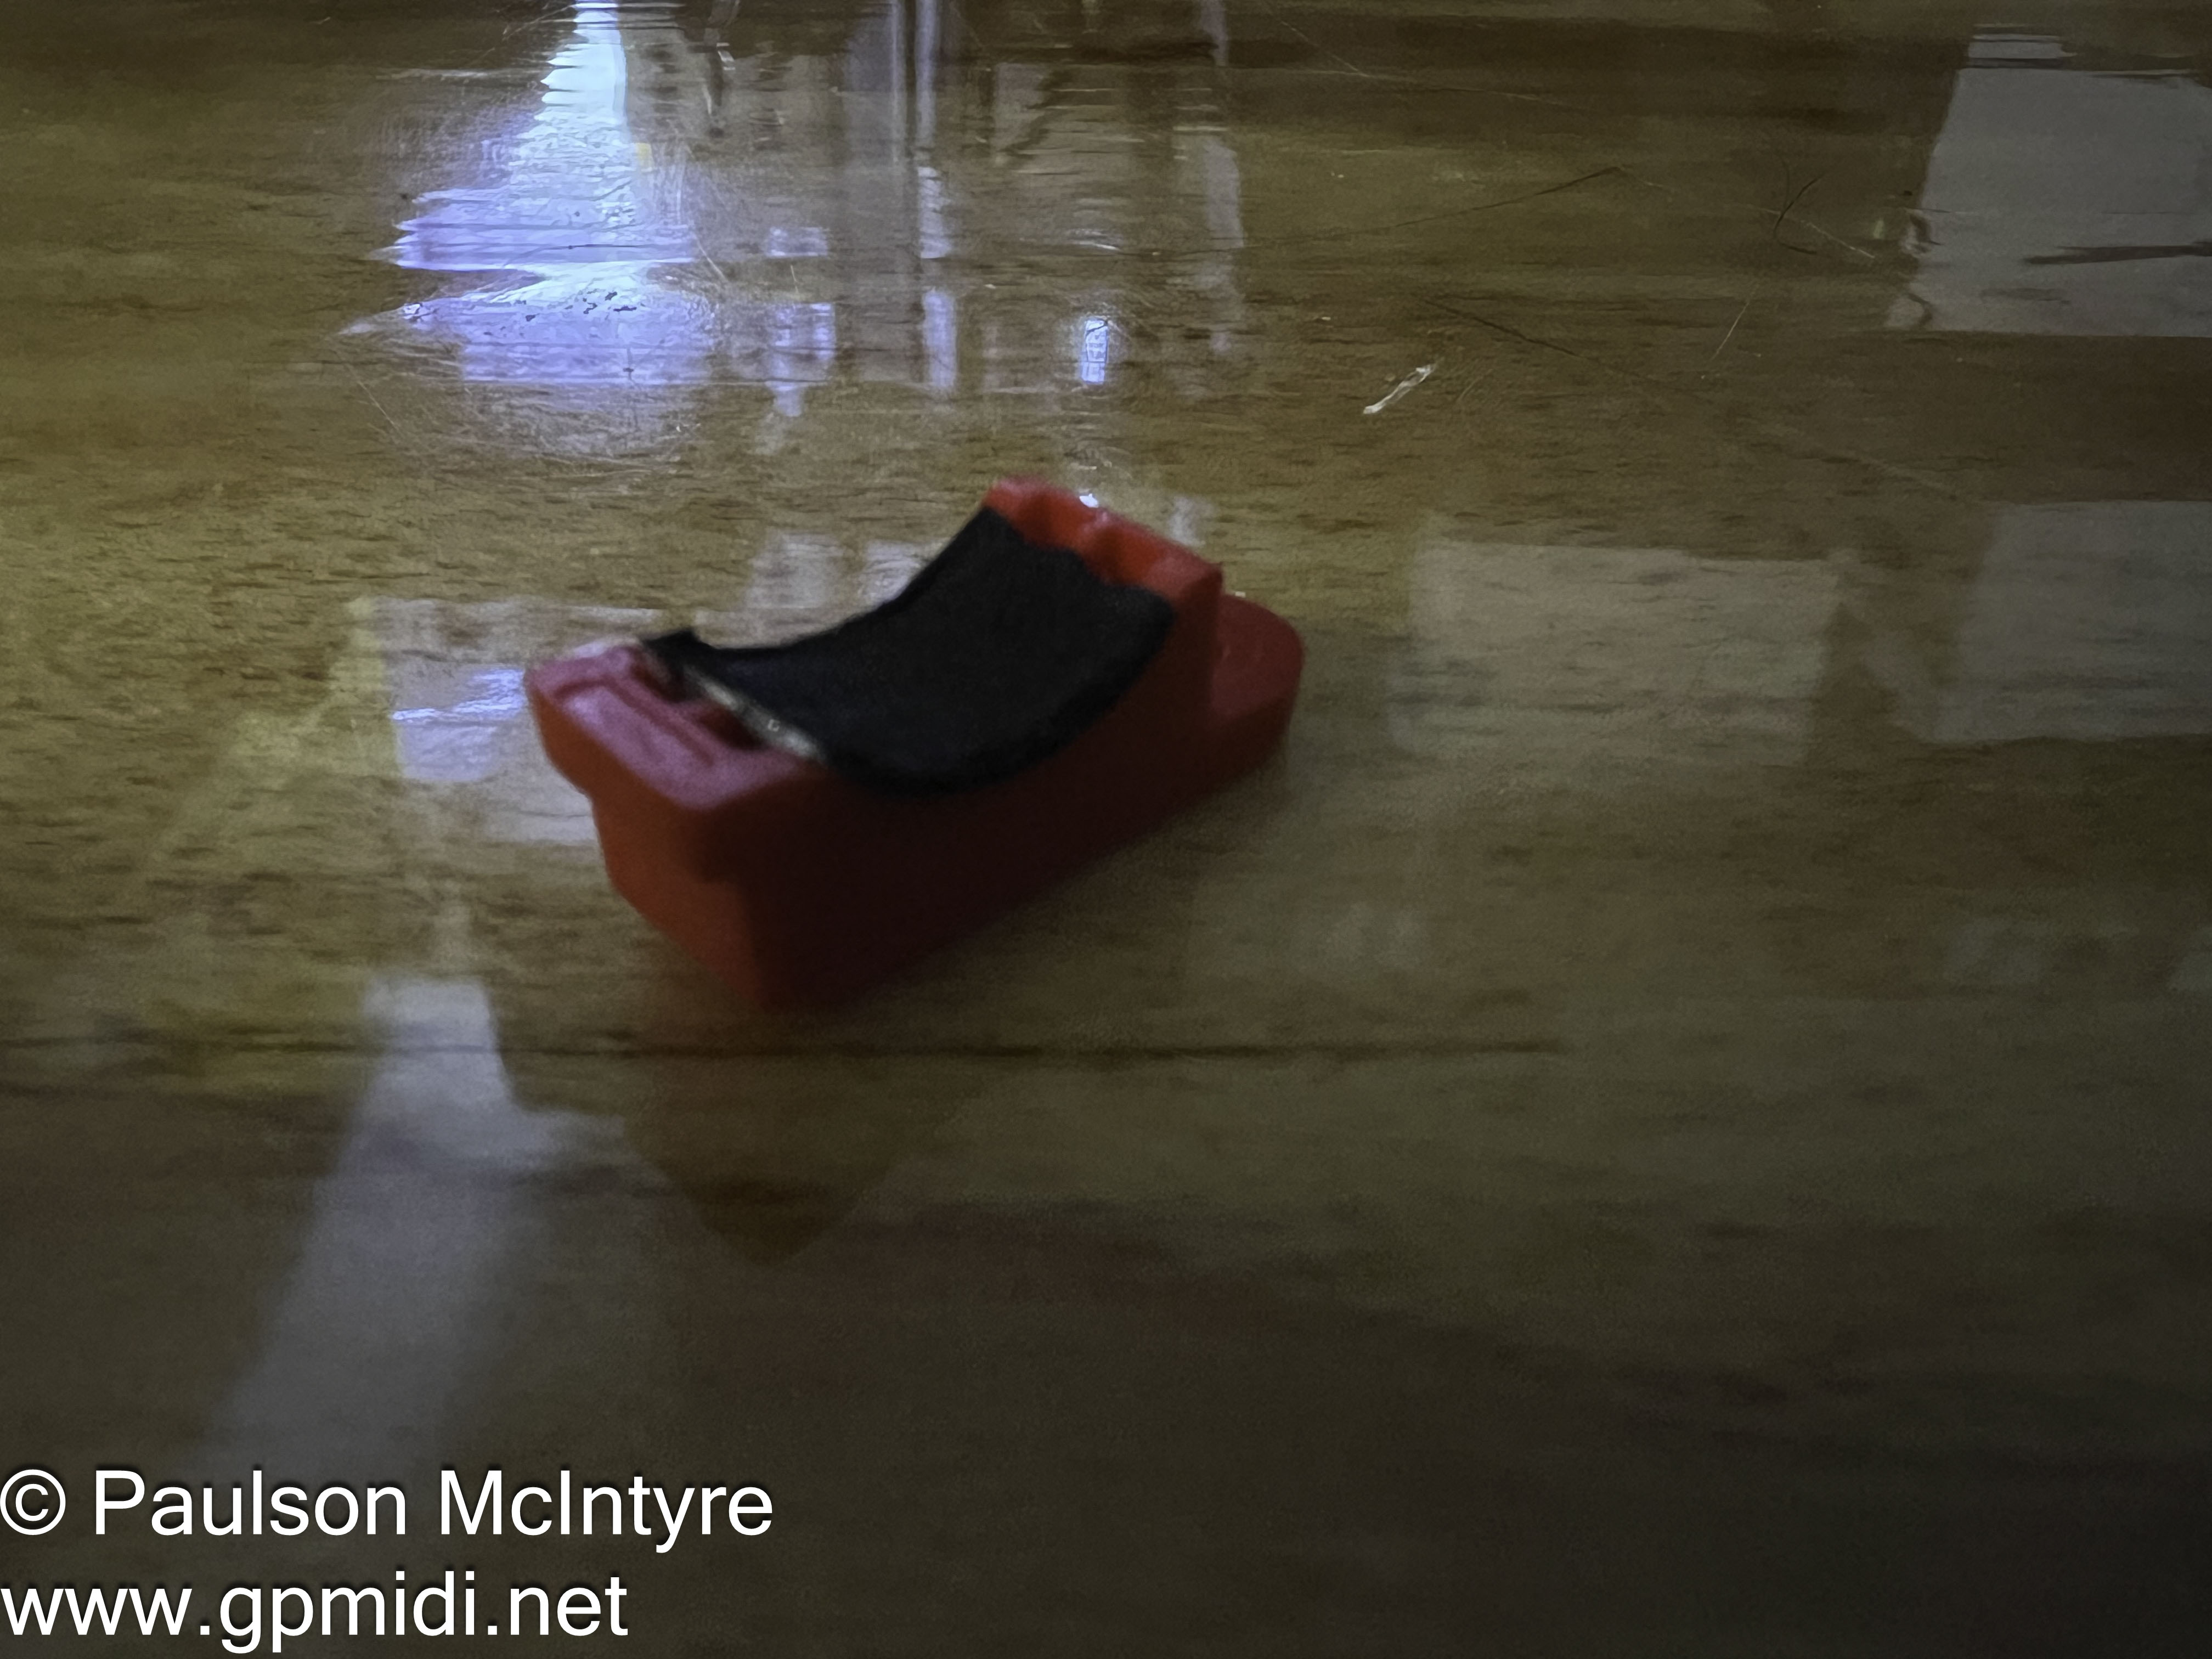
The battery retaining clip
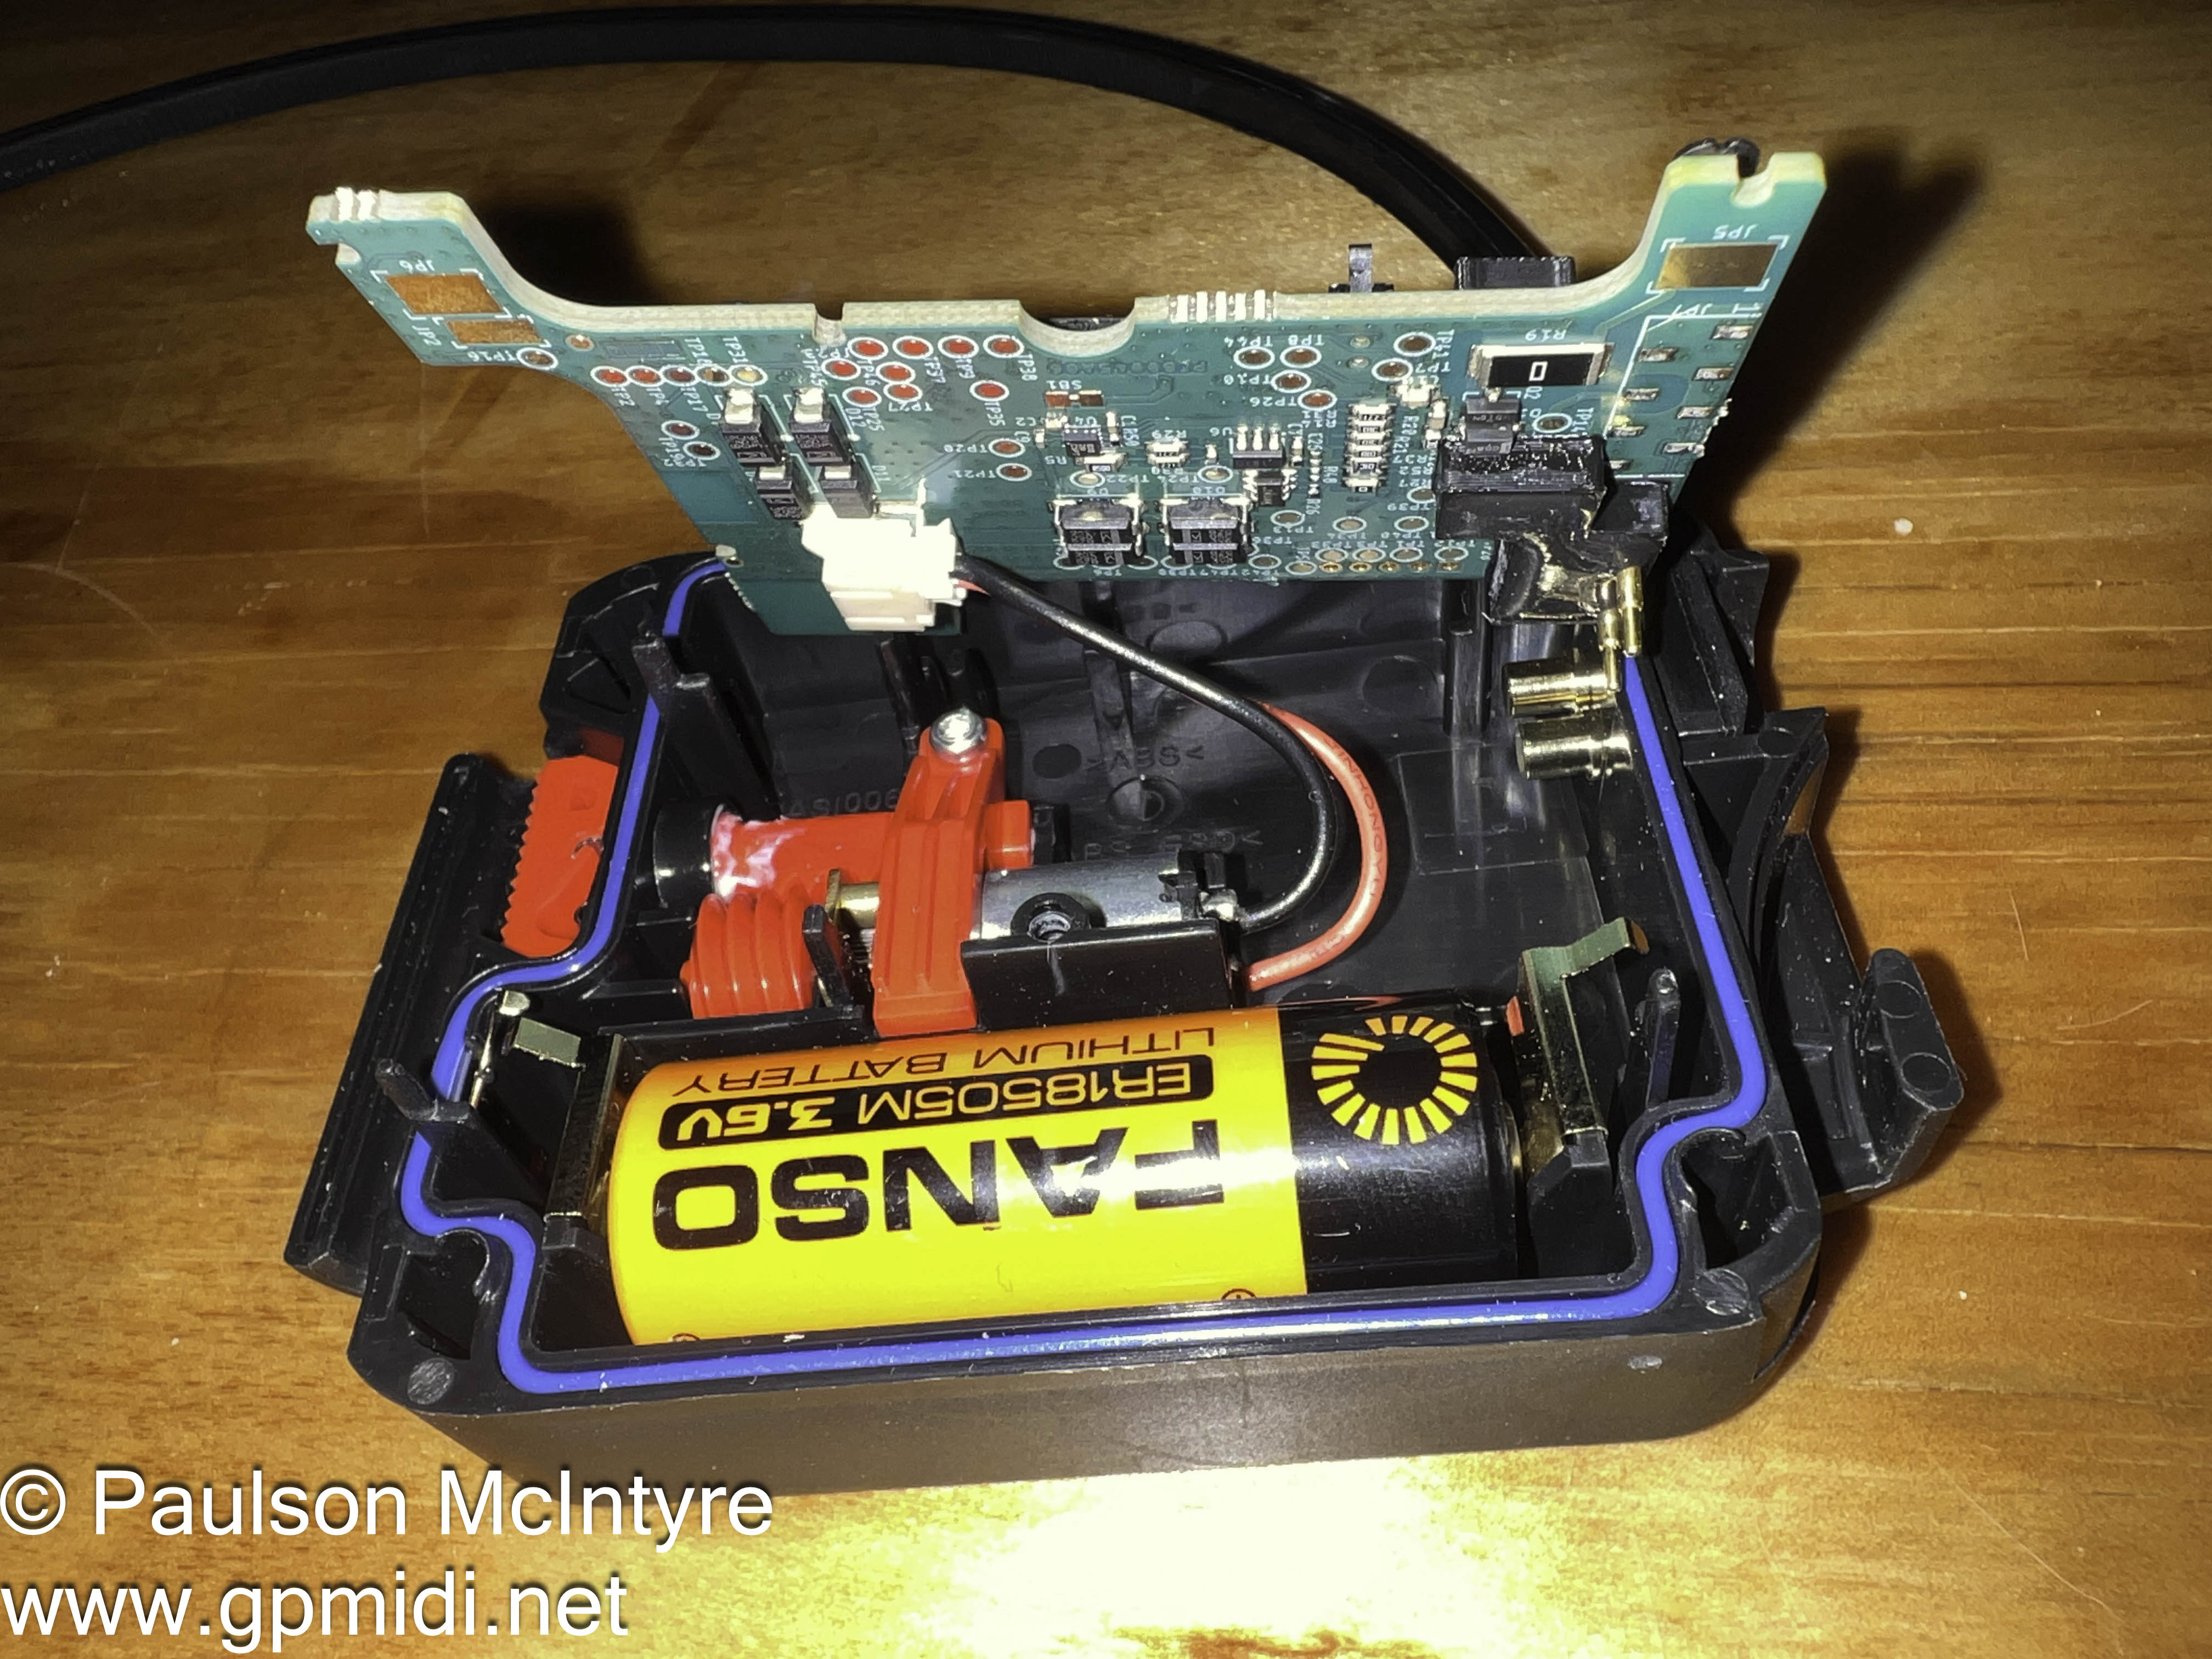
Once the secondary case backing is removed you can see the full board. Note the red plastic on the right side that holds the cable in place. You'll see the mechanics of this further down.
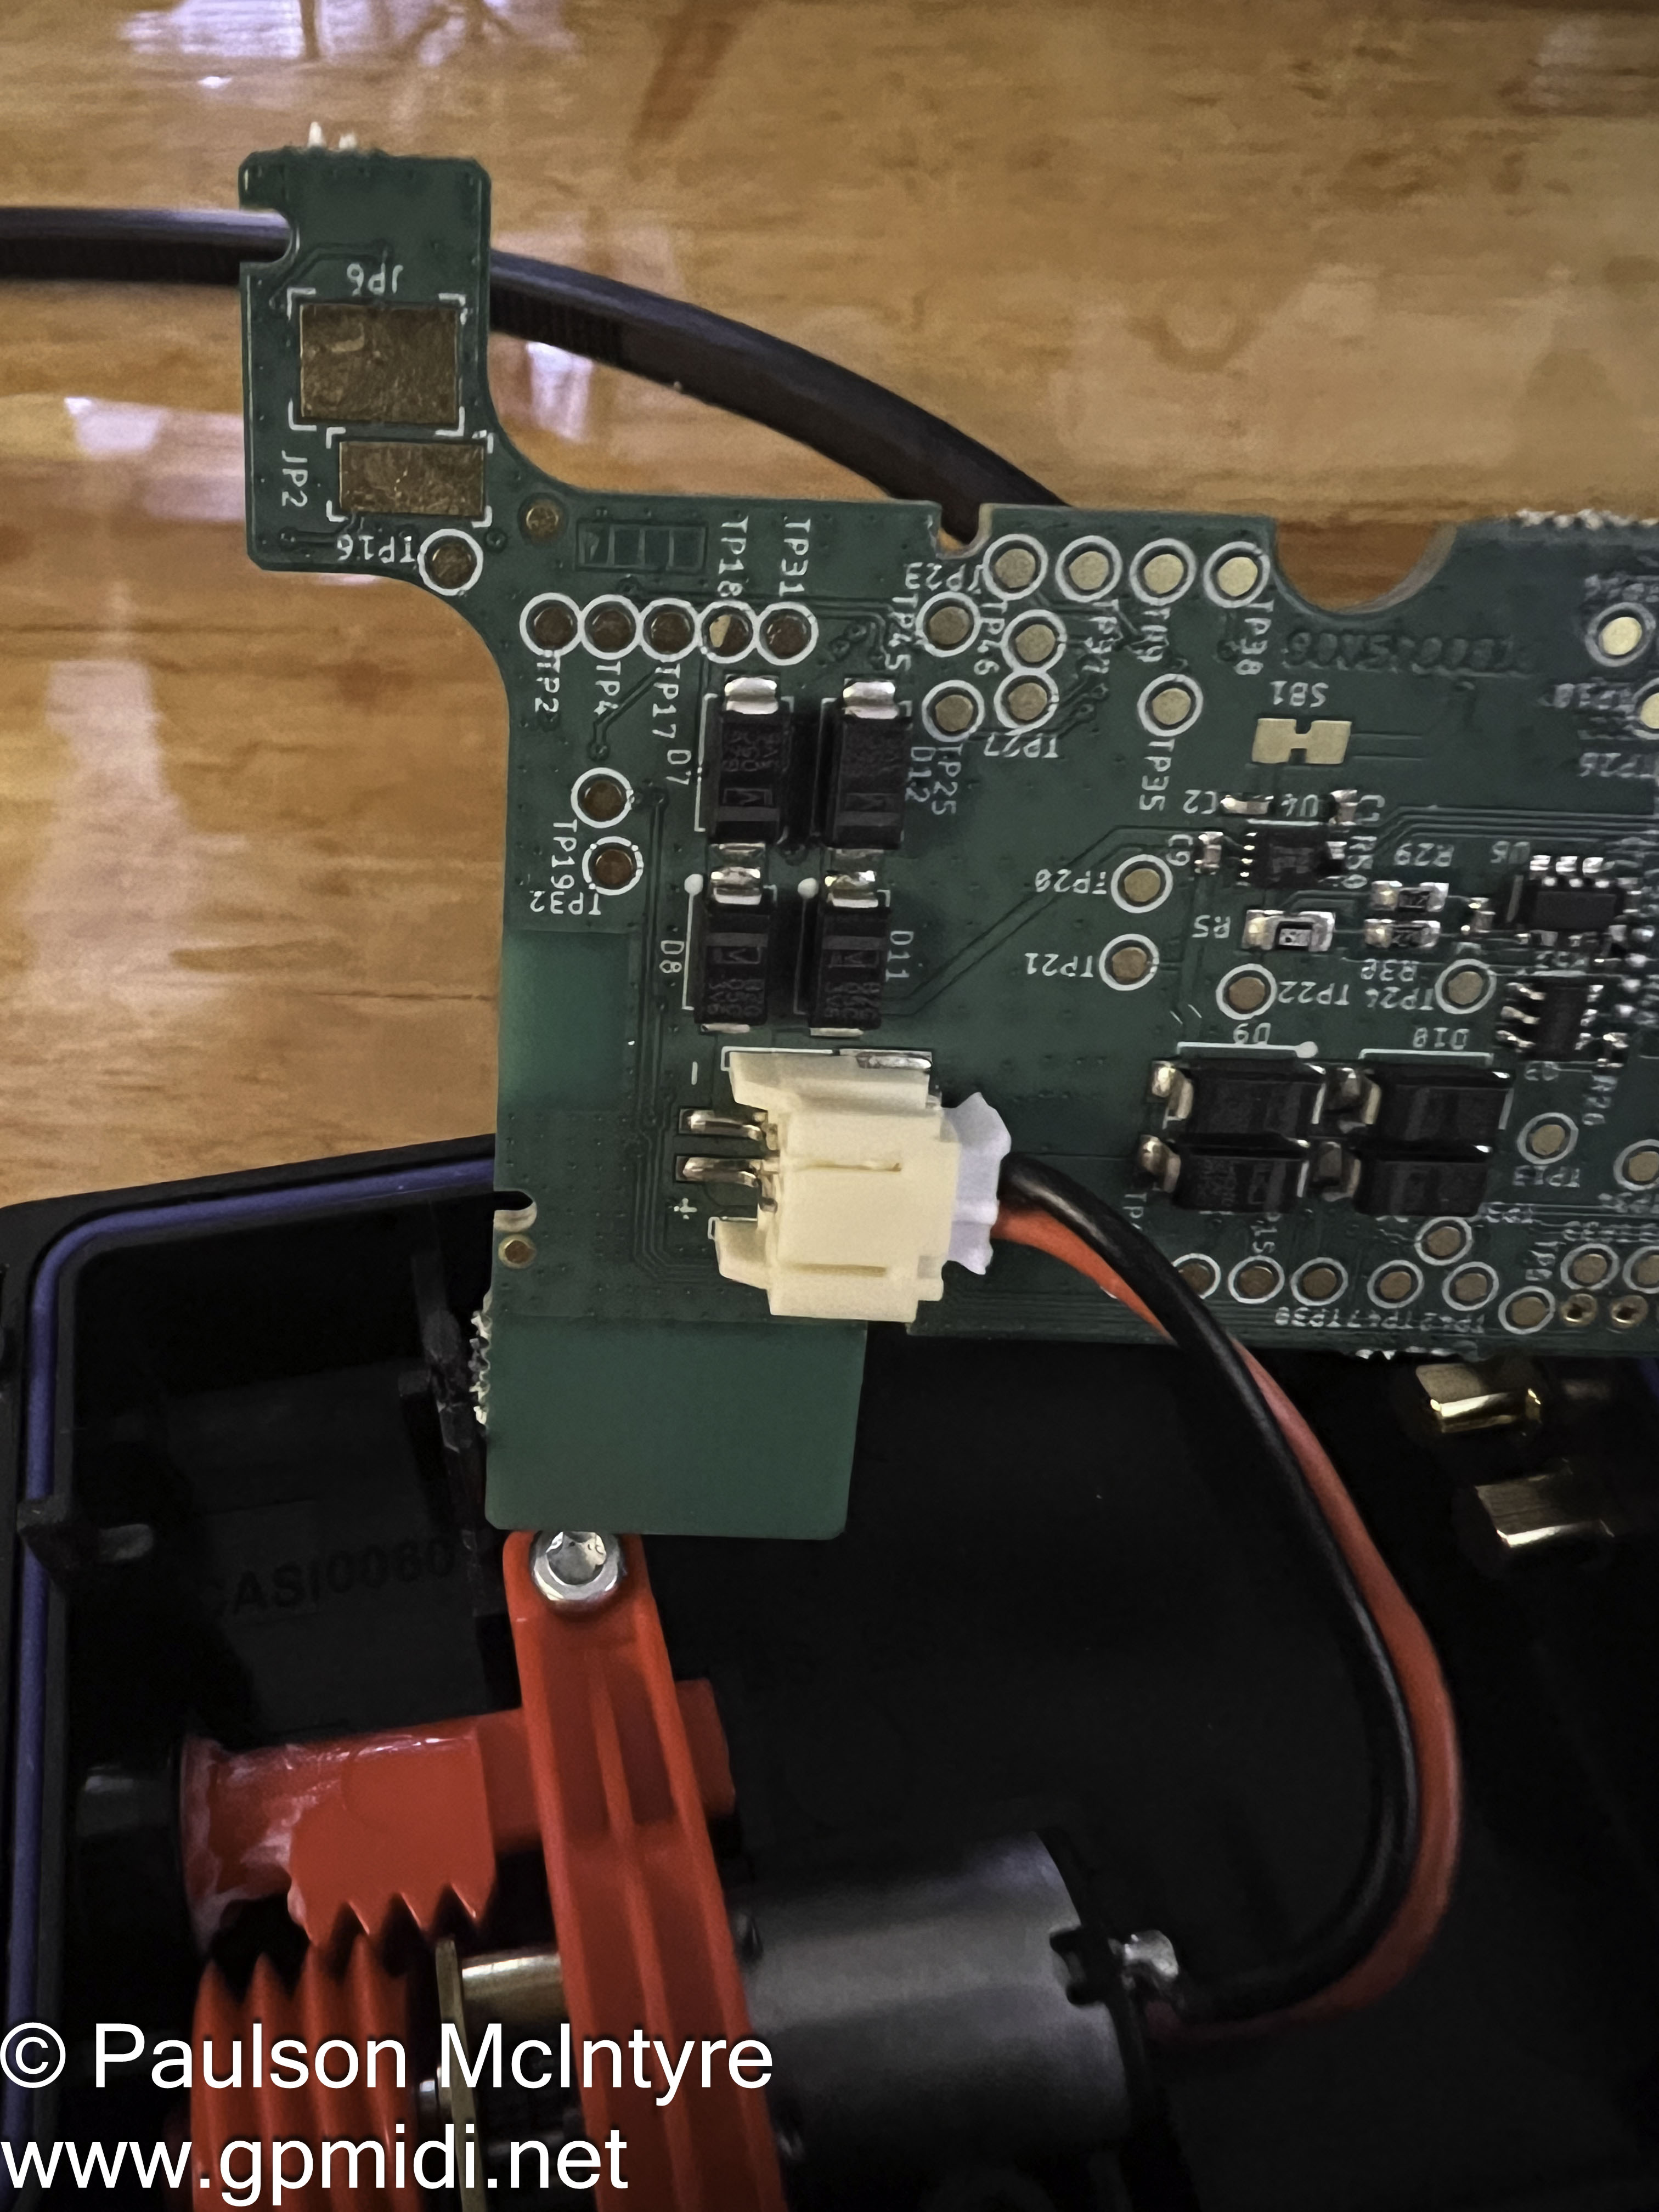
A bit more of the mechanics are visible here.

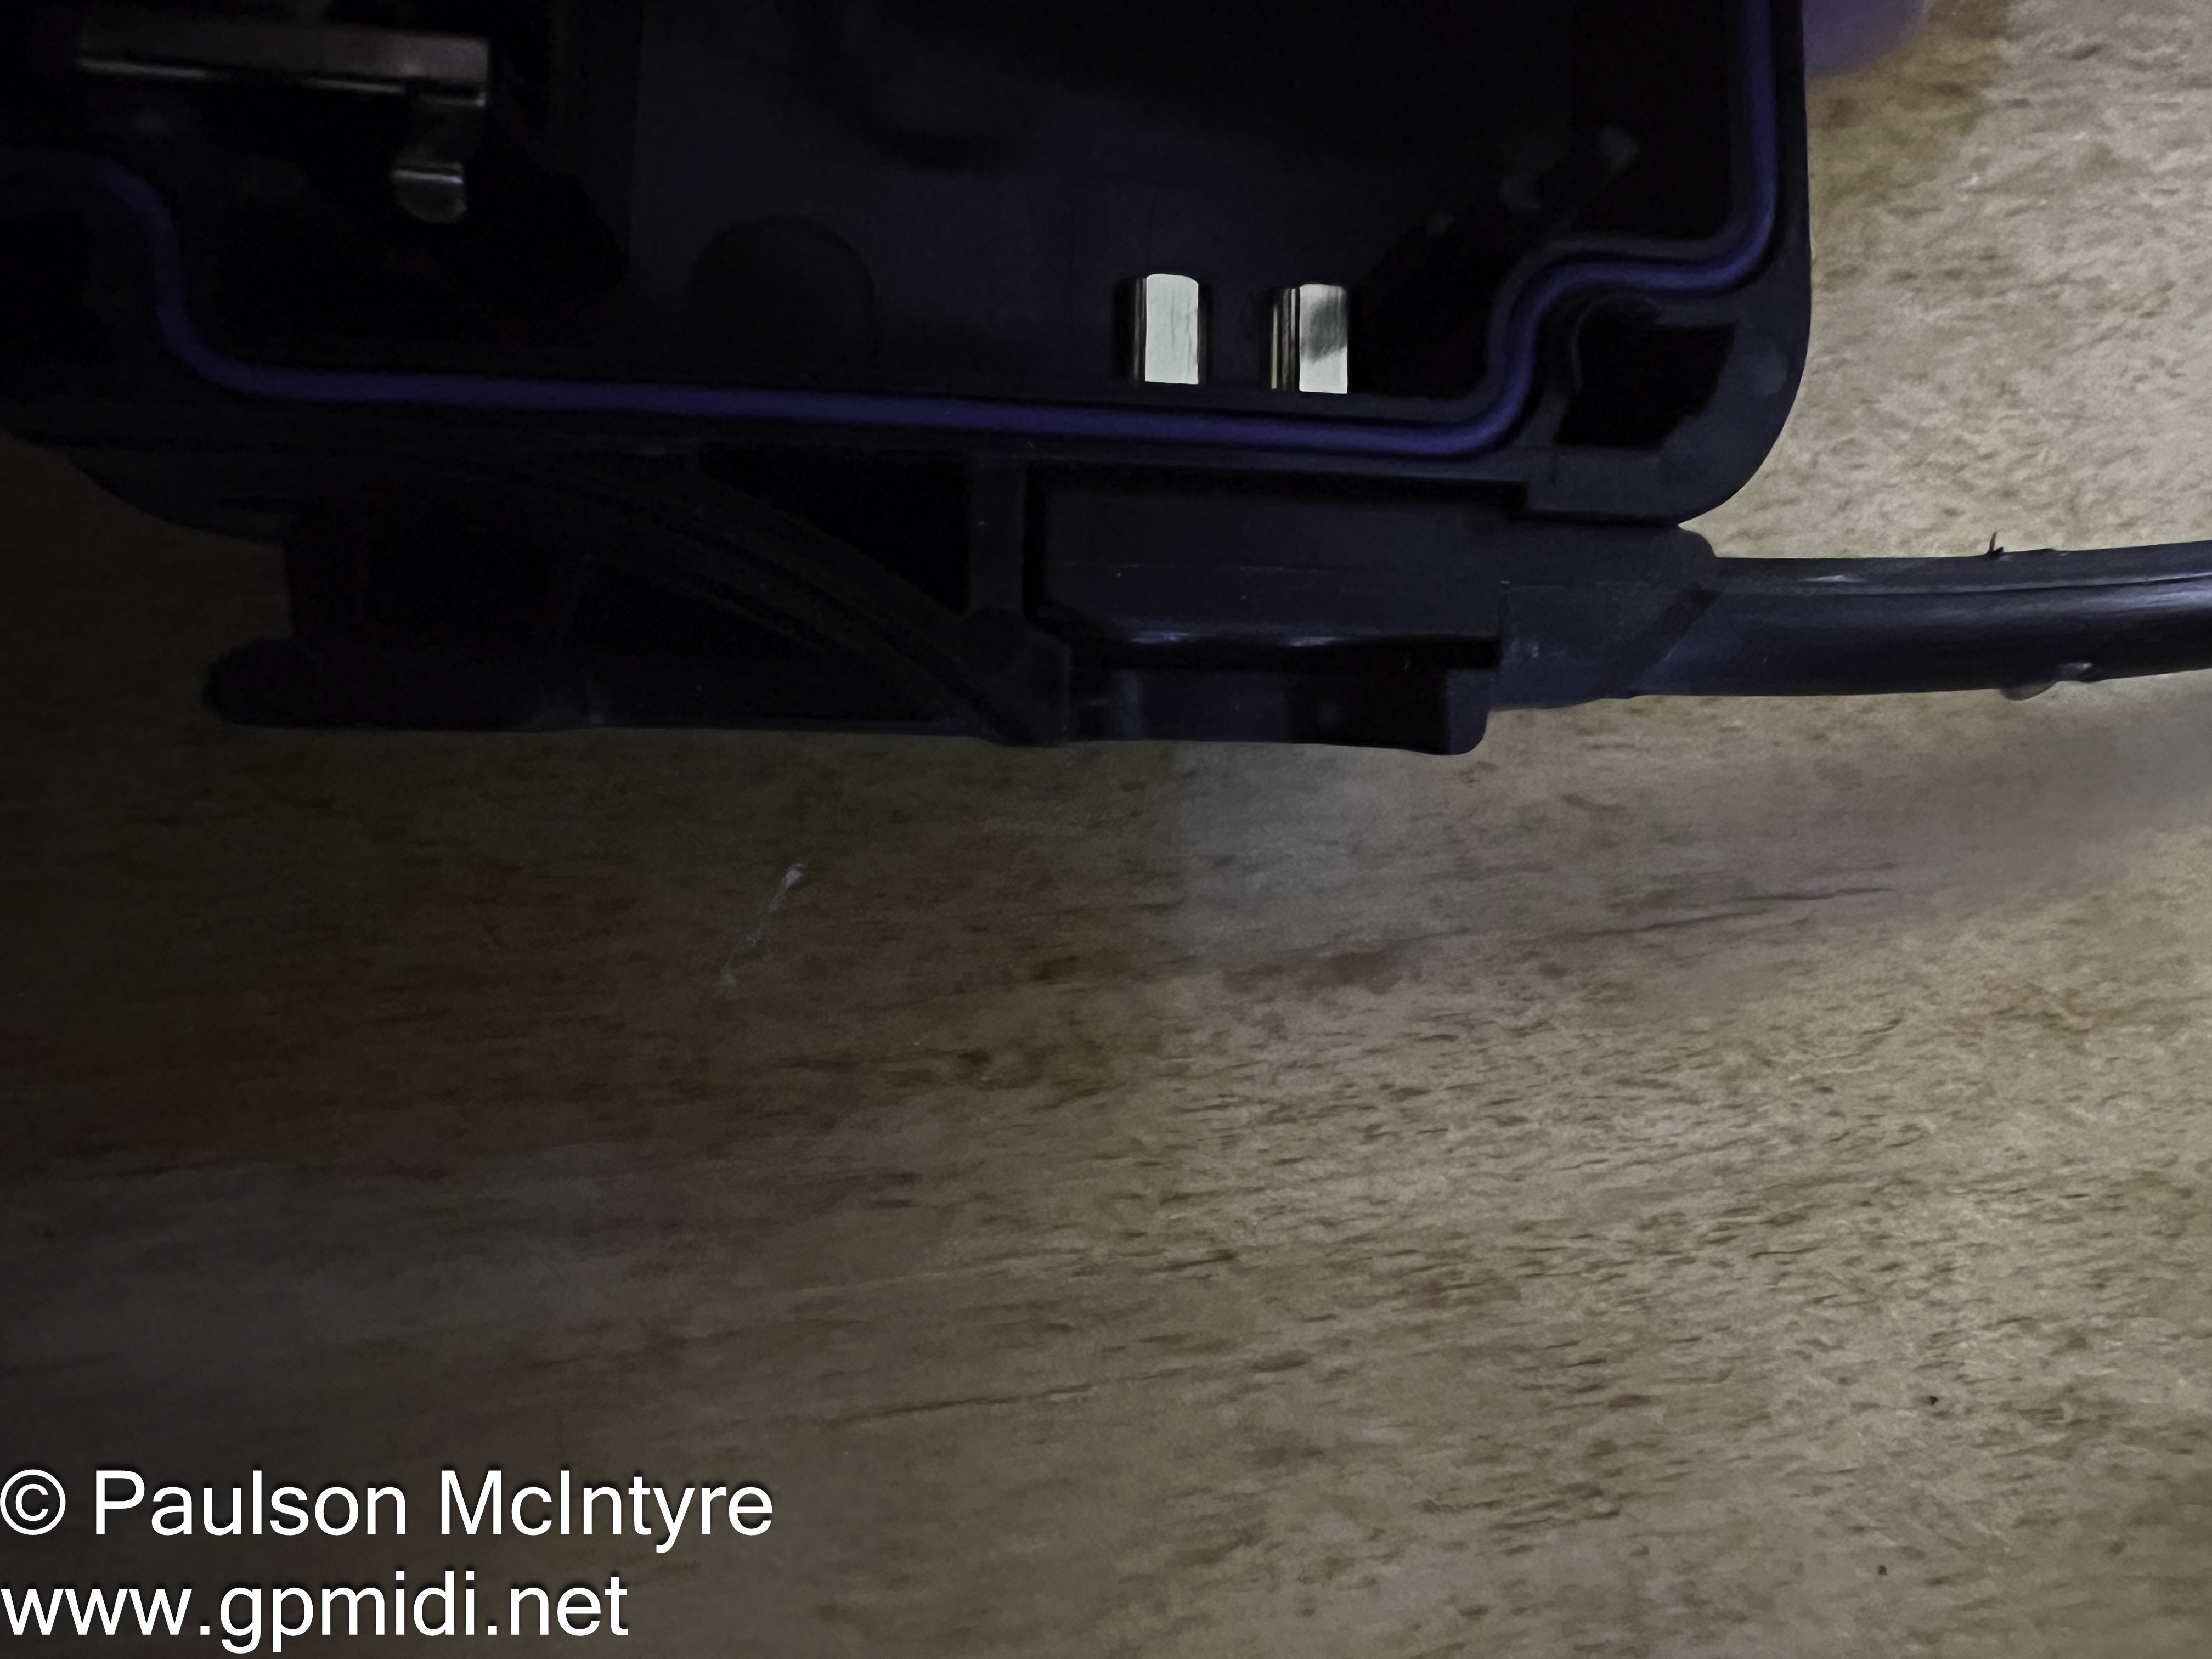
When the PCB is lifted it breaks contact with the battery contacts. This is an extra intrusion detection feature. You can also see the driver that enabled/disables the release for the security cable. On the right you can also see the electrical contacts for the security cable's cut detection.
A bit better view of the bottom of the PCB. The compression contacts on the lower right of the photo are for the security cable break detection.
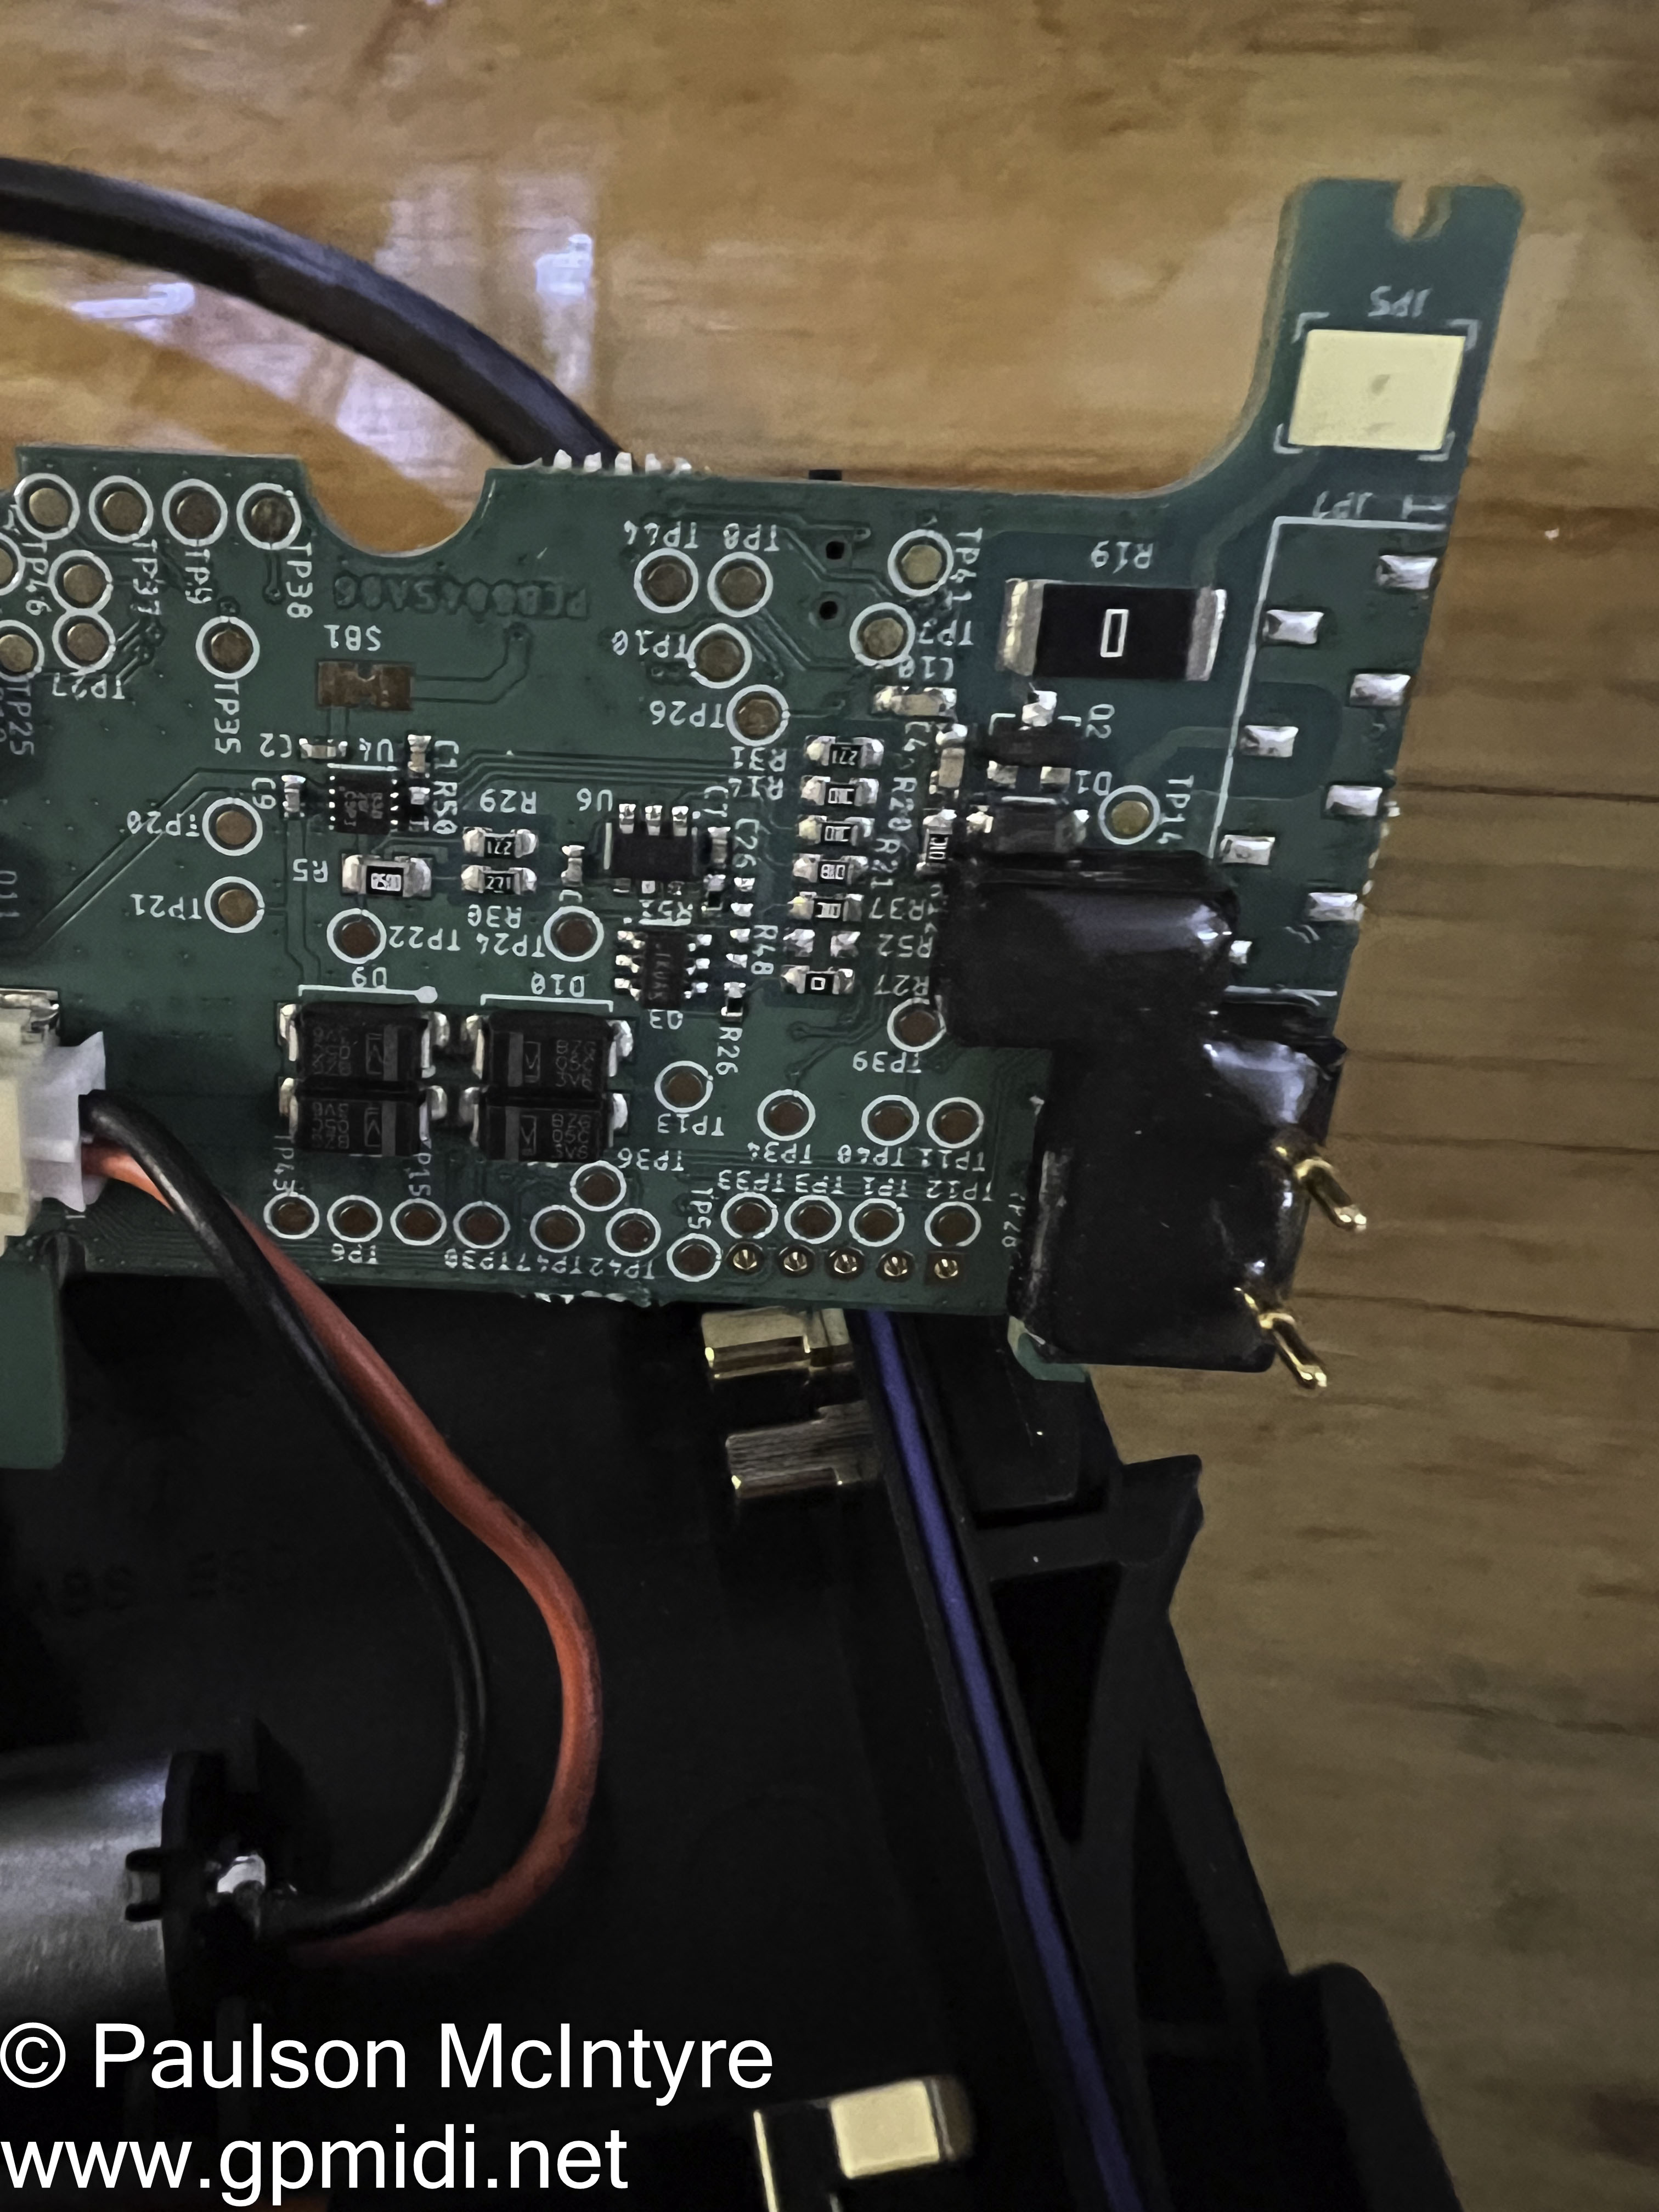
The two bolts that hold the security cable in might be electrically connected to the contacts inside. If that were the case AND there was no electric protection like looking for minor jumps in resistance or maybe capacitance then it'd be pretty easy to bypass the projection by prying up the flap that covers it. Something tells me though it'd not be that easy ;)
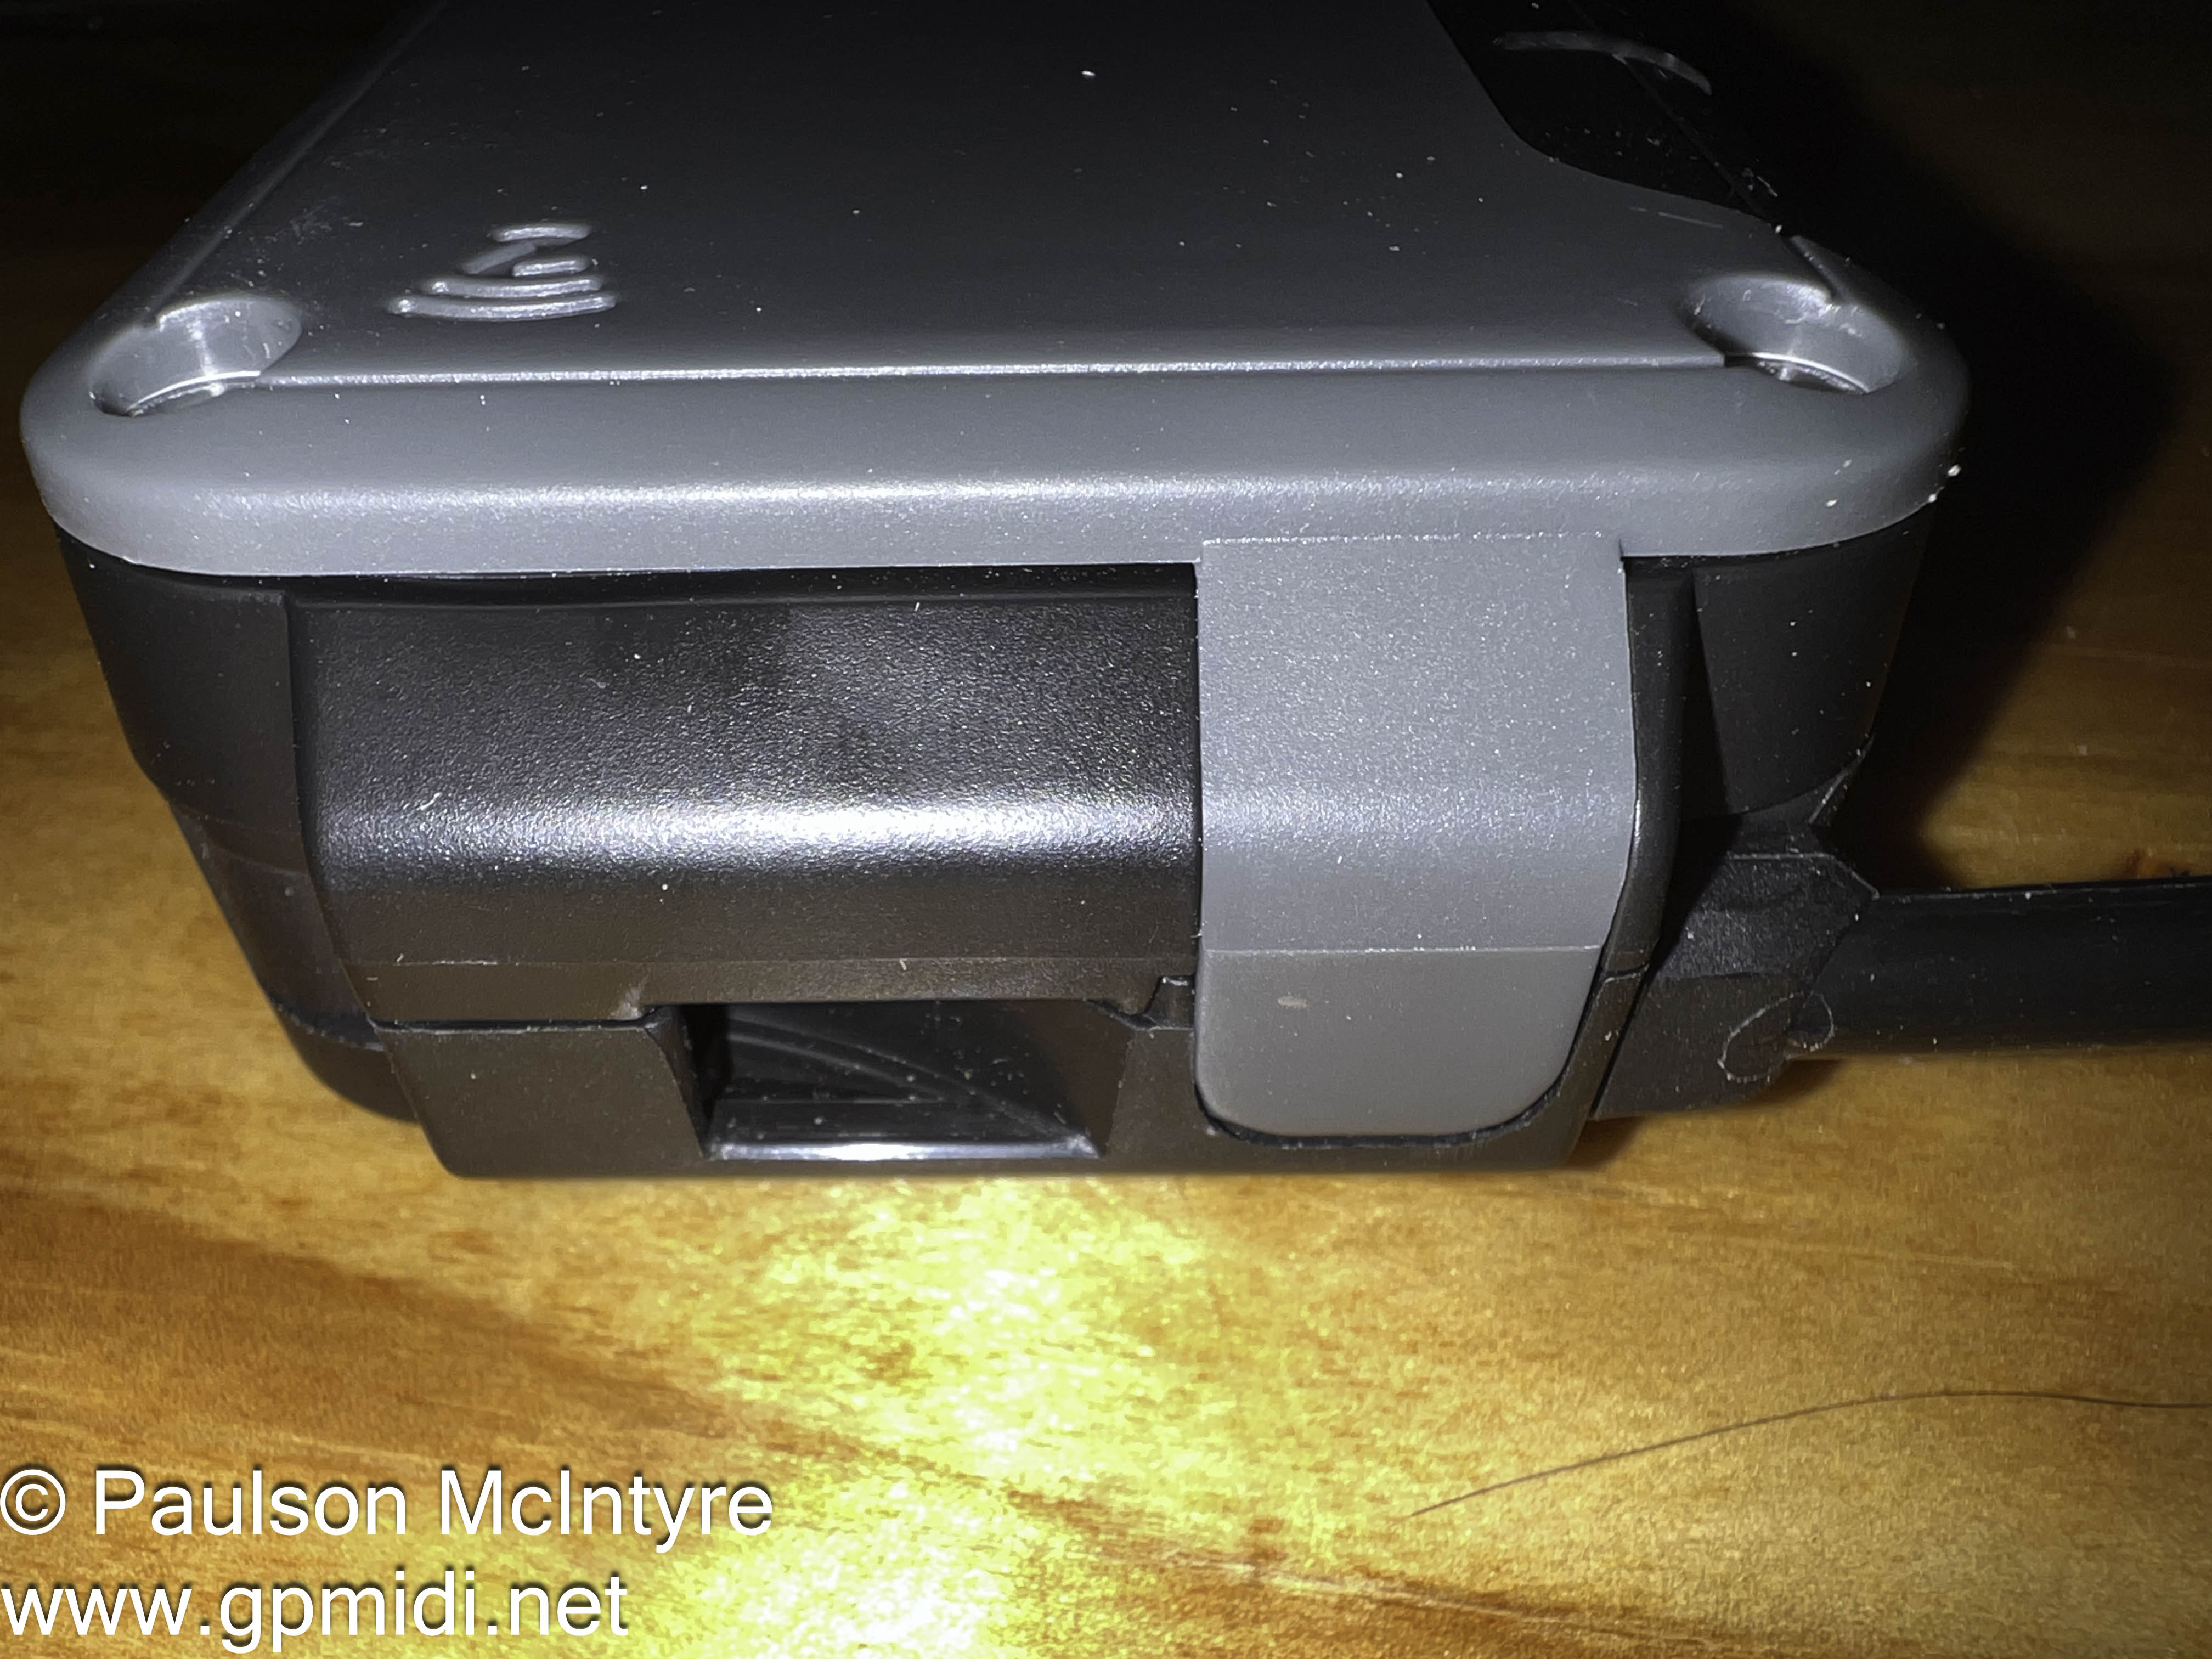
The side with the cover that goes over the bolts for the security cable
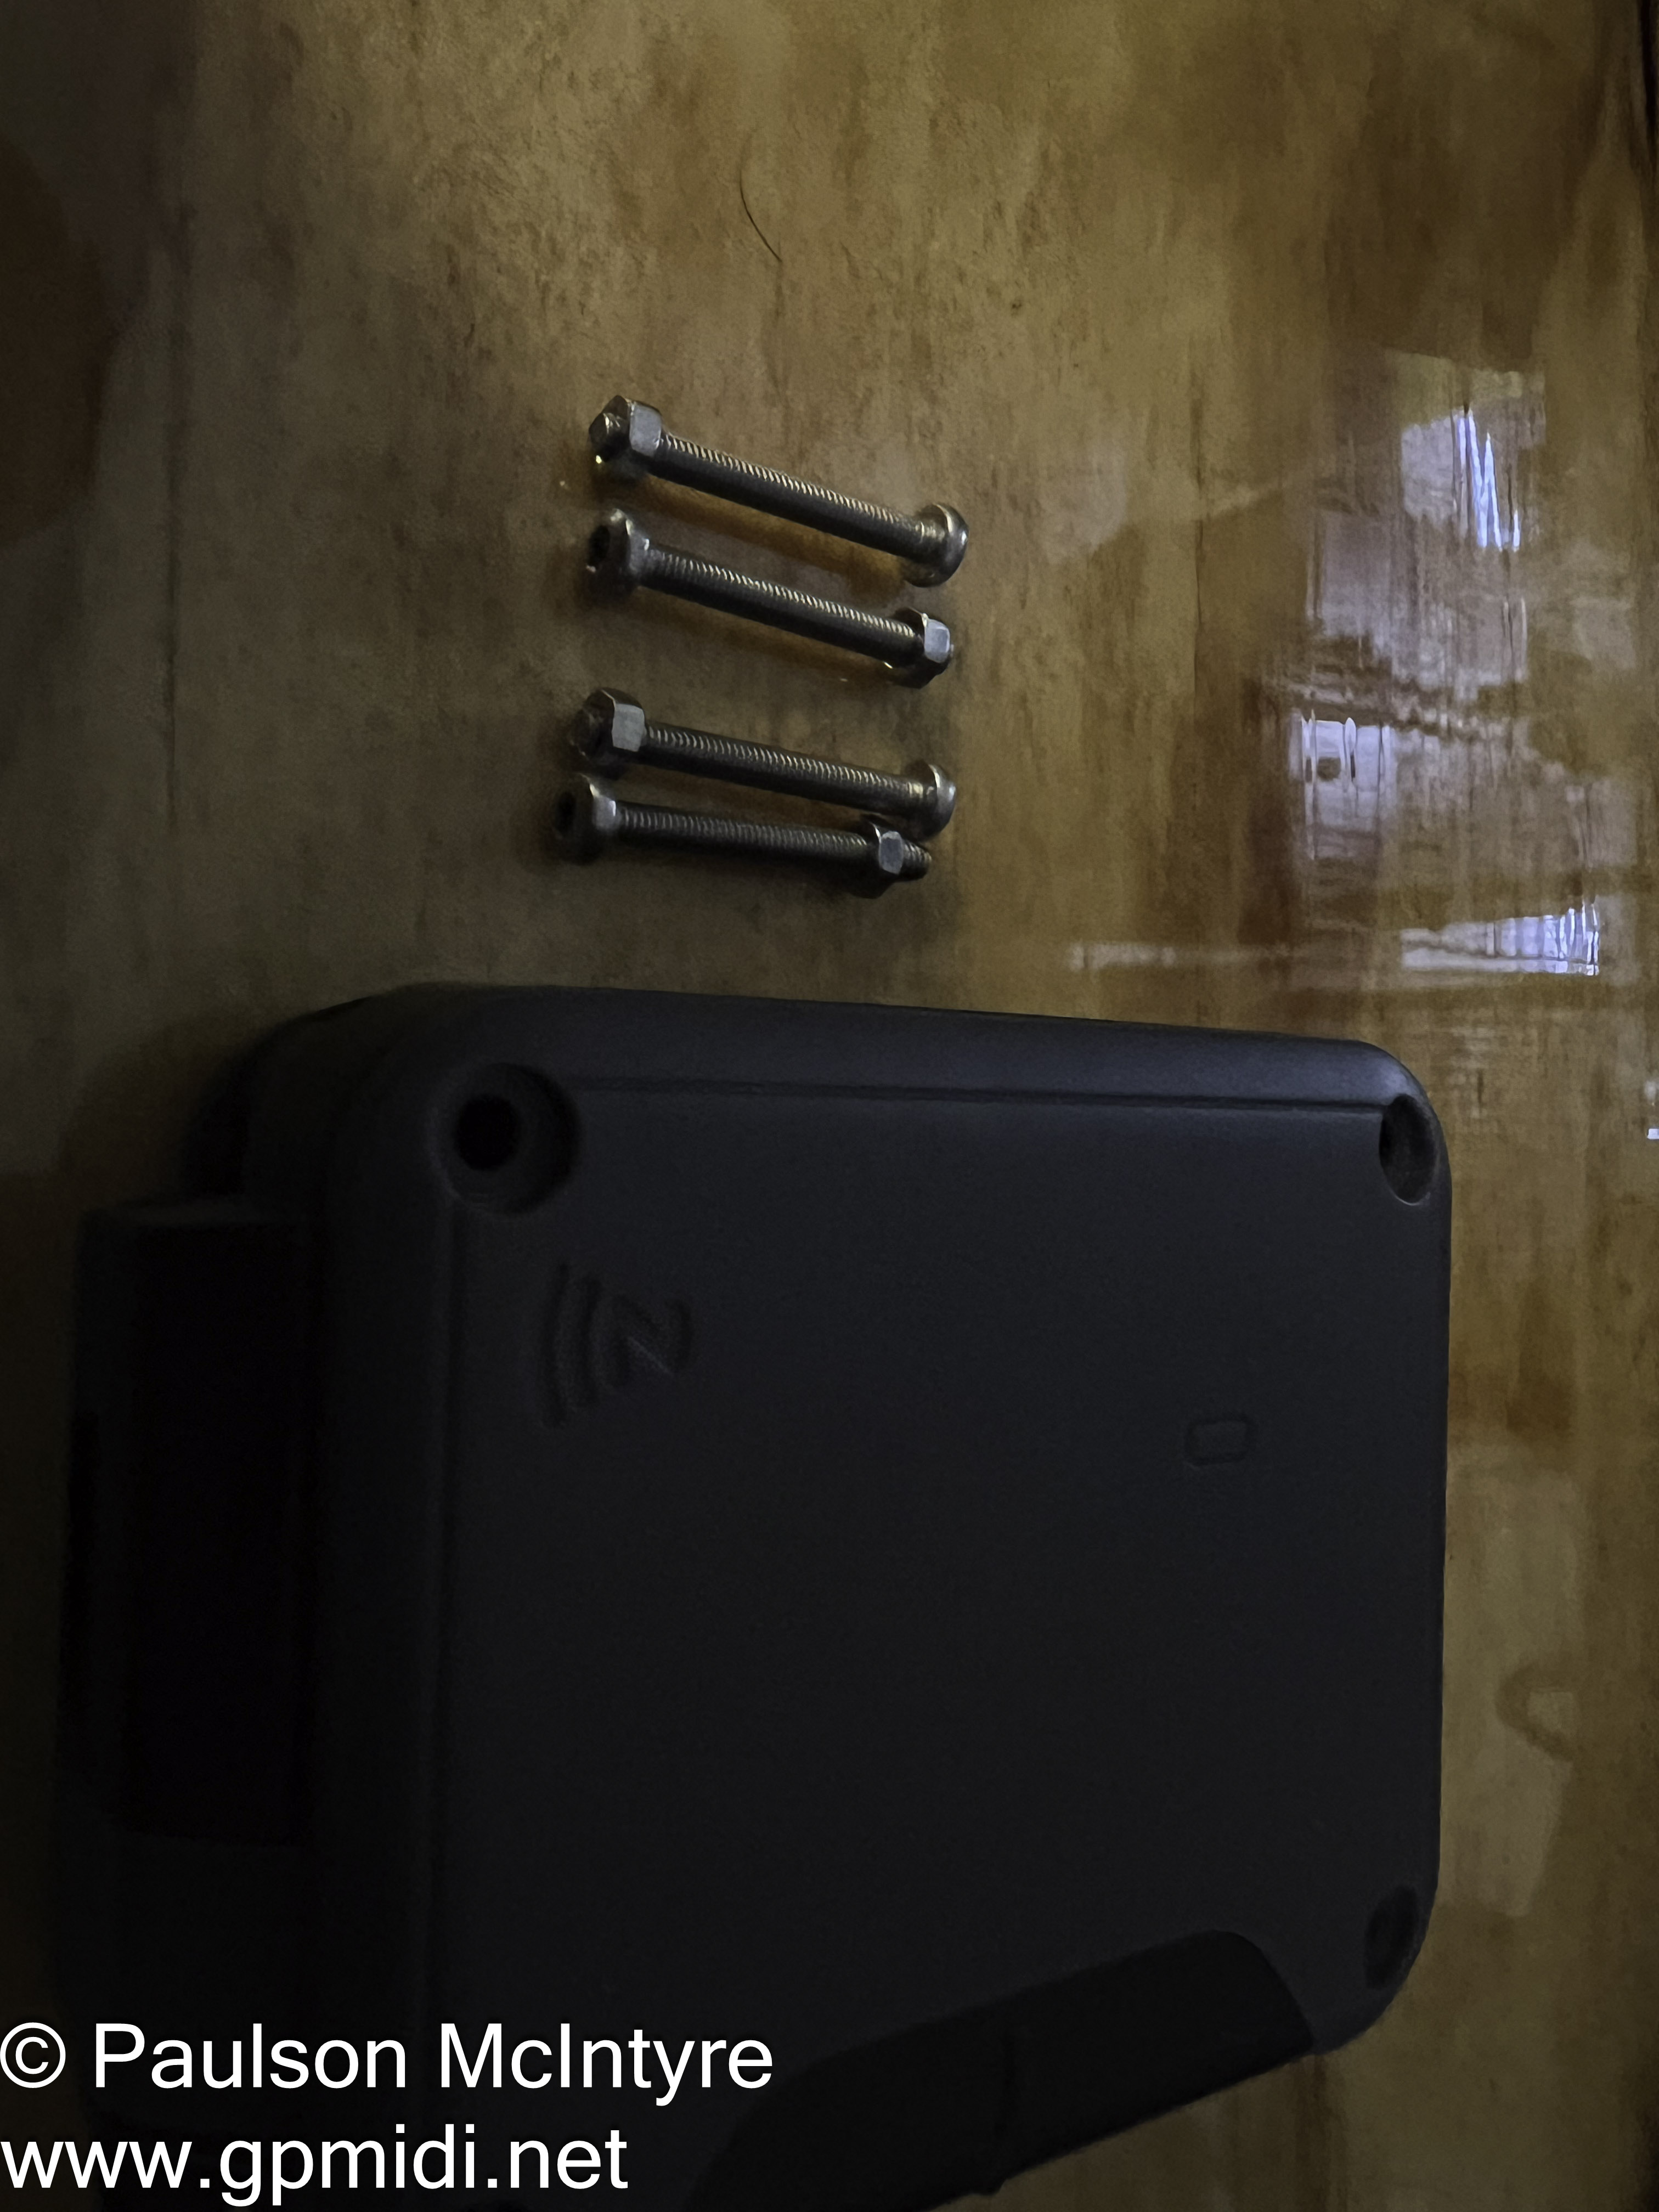
Bolts that hold the case together.
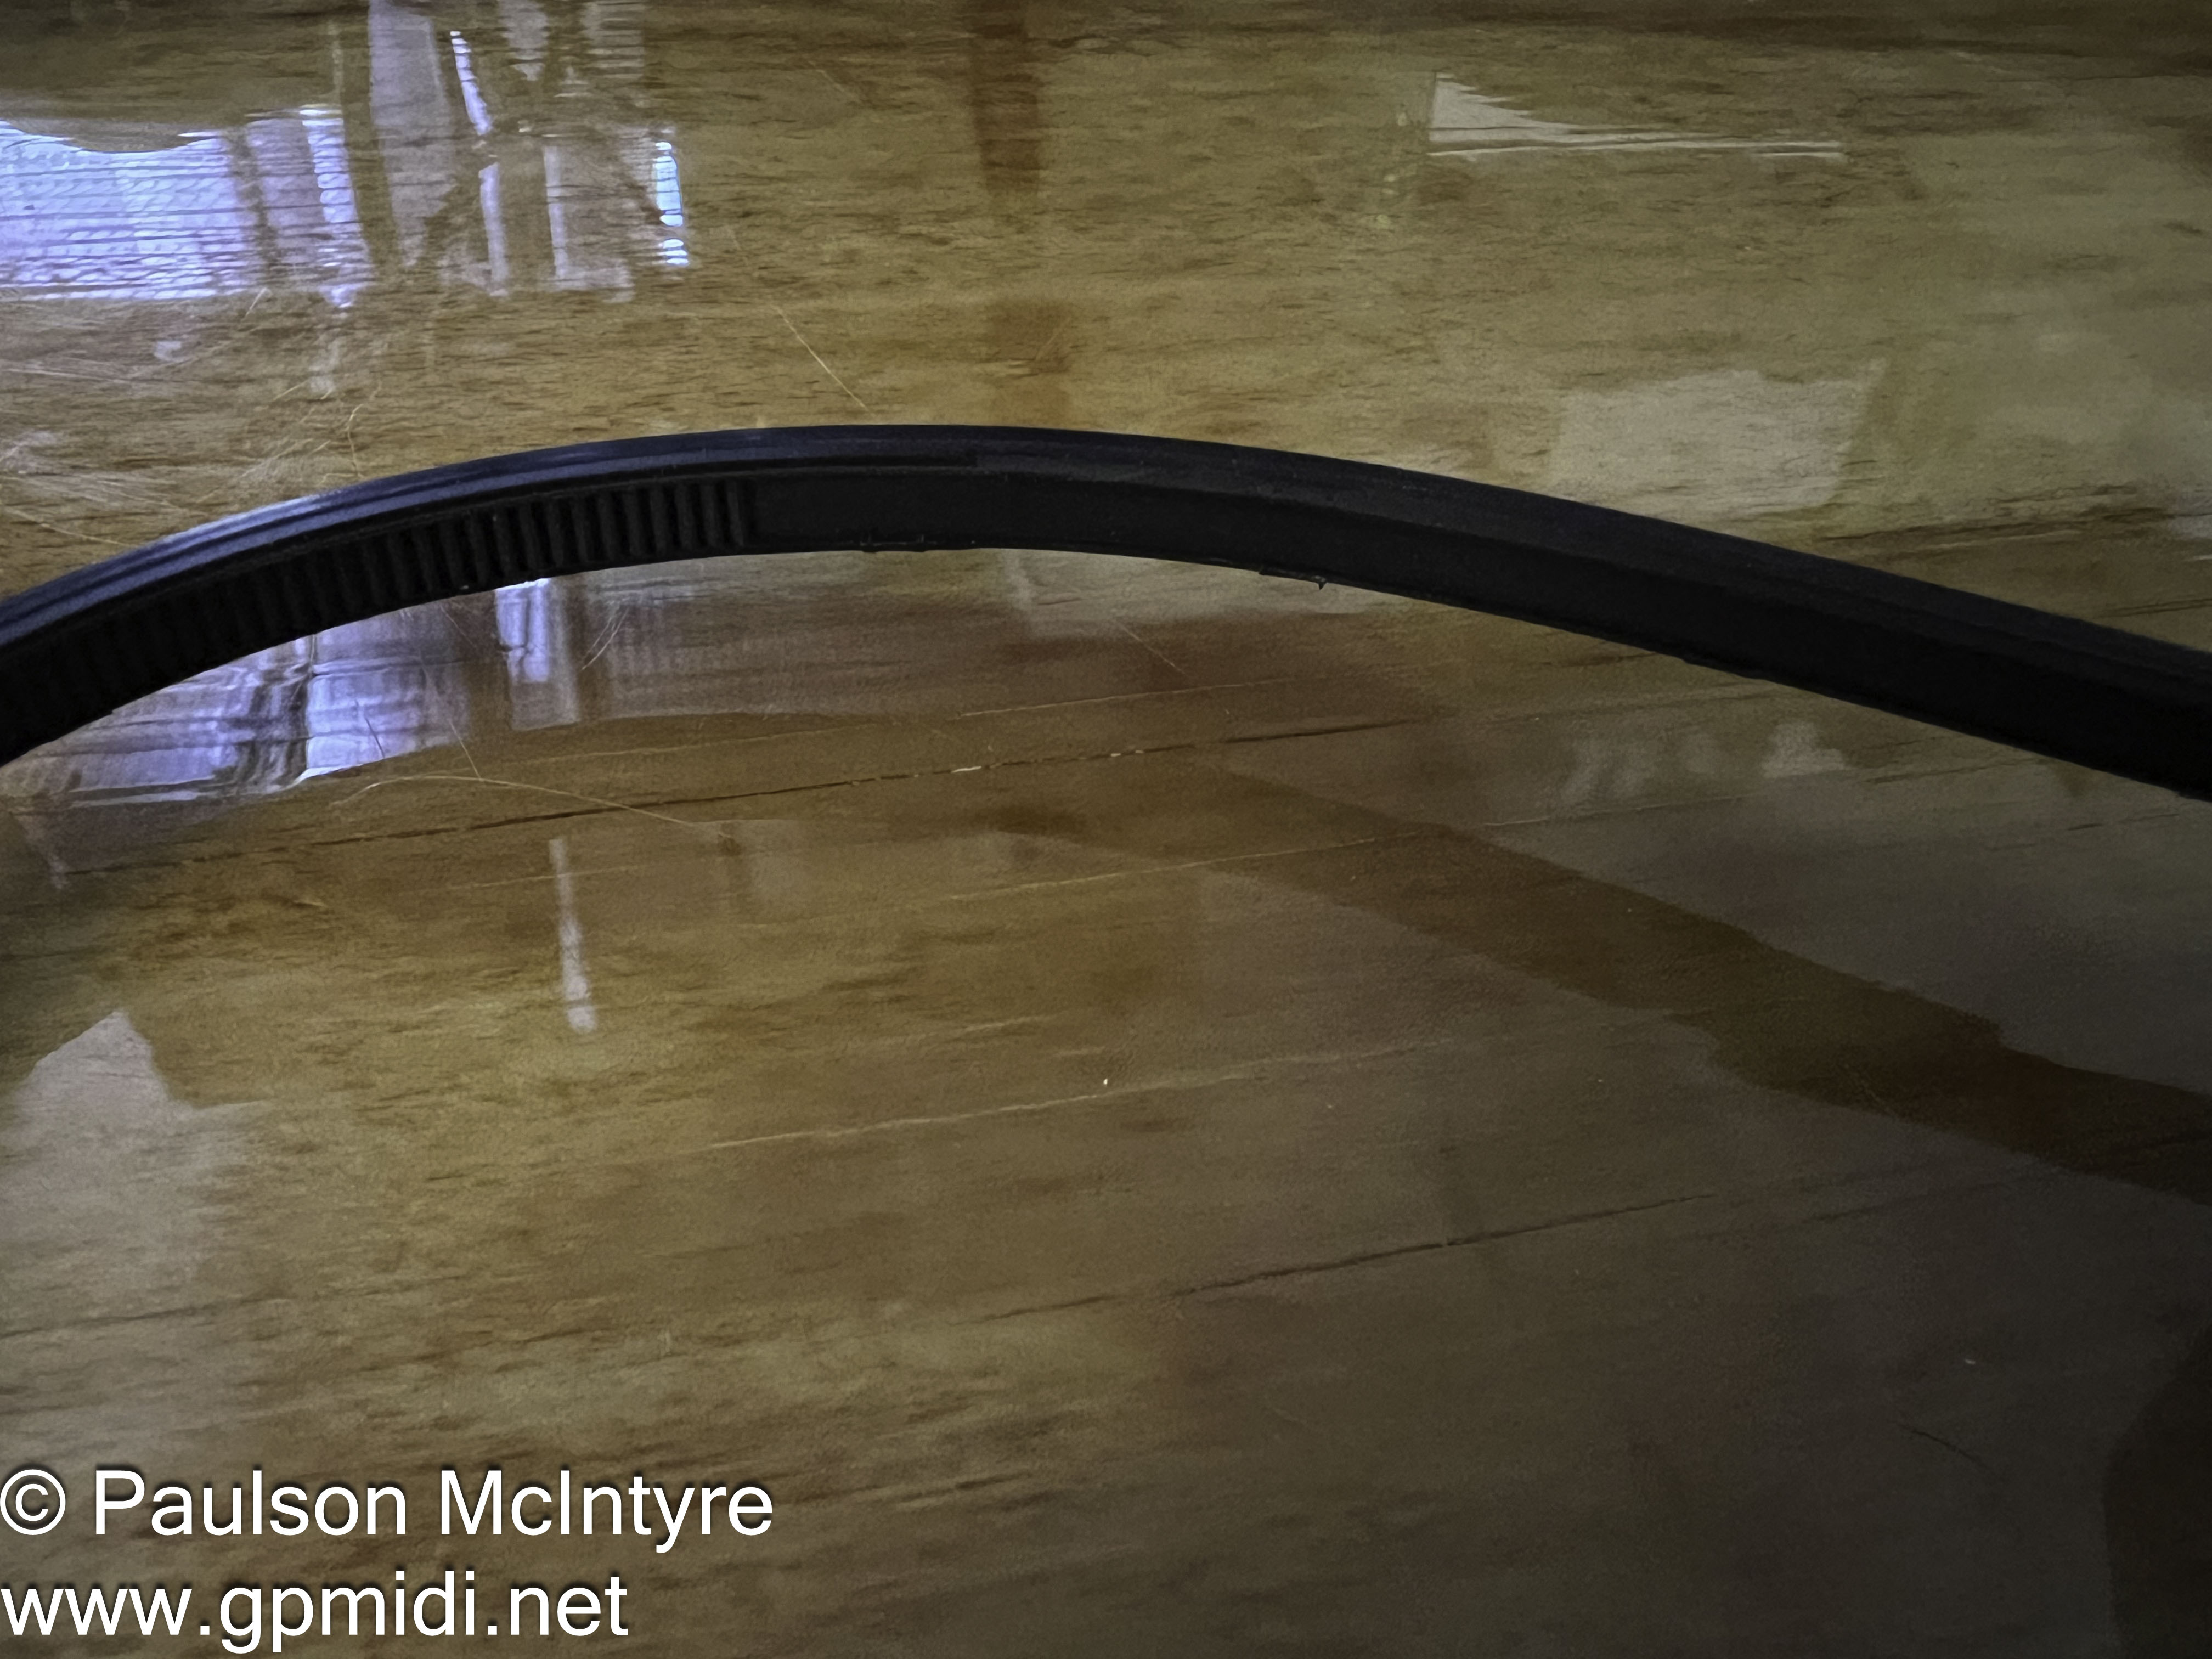
The security cable uses a zip-tie like mechanism to allow sealing and tightening without allowing removal.
Follow Up Items
- Check if bolts conduct through to security chain.
- Check if shorting the bolts triggers any alert.
- Measure the resistance across the bolts and check if that measure triggers any alert.
- See how far I can get with disassembly without the intrusion alert light going off. The first time it noticed right away.
Next Steps
Once I get my hands on the documentation and hopefully clover-net software, I'll be able to really start having fun.
Thanks for reading :)